Building a Client side application with Next.js and SWR using SpaceX API.

Writing code, breaking things, then pretending it was a feature. 🤡 | Senior Software Engineer | Dreaming of Big Tech, a GDE badge, and a Koenigsegg. 🚀
In this short tutorial , we will learn about SWR ( state-while-revalidate ) and how we can use it with Next.js to create a client side application which retrieve the images from SpaceX API.

What is SWR ?
SWR ( State-while-revalidate ) is react hooks library for data fetching, caching , revalidation , pagination and so on. It is created by the same team behind Next.js.
Strategy of SWR is to first return the data from cache then send the fetch request (revalidate), and finally come with the up-to-date data.
SWR is back-end agnostic that is , we can use it retrieve data from any server that supports HTTP request.
It is typescript ready 🎉.
Let's code.
Set up :
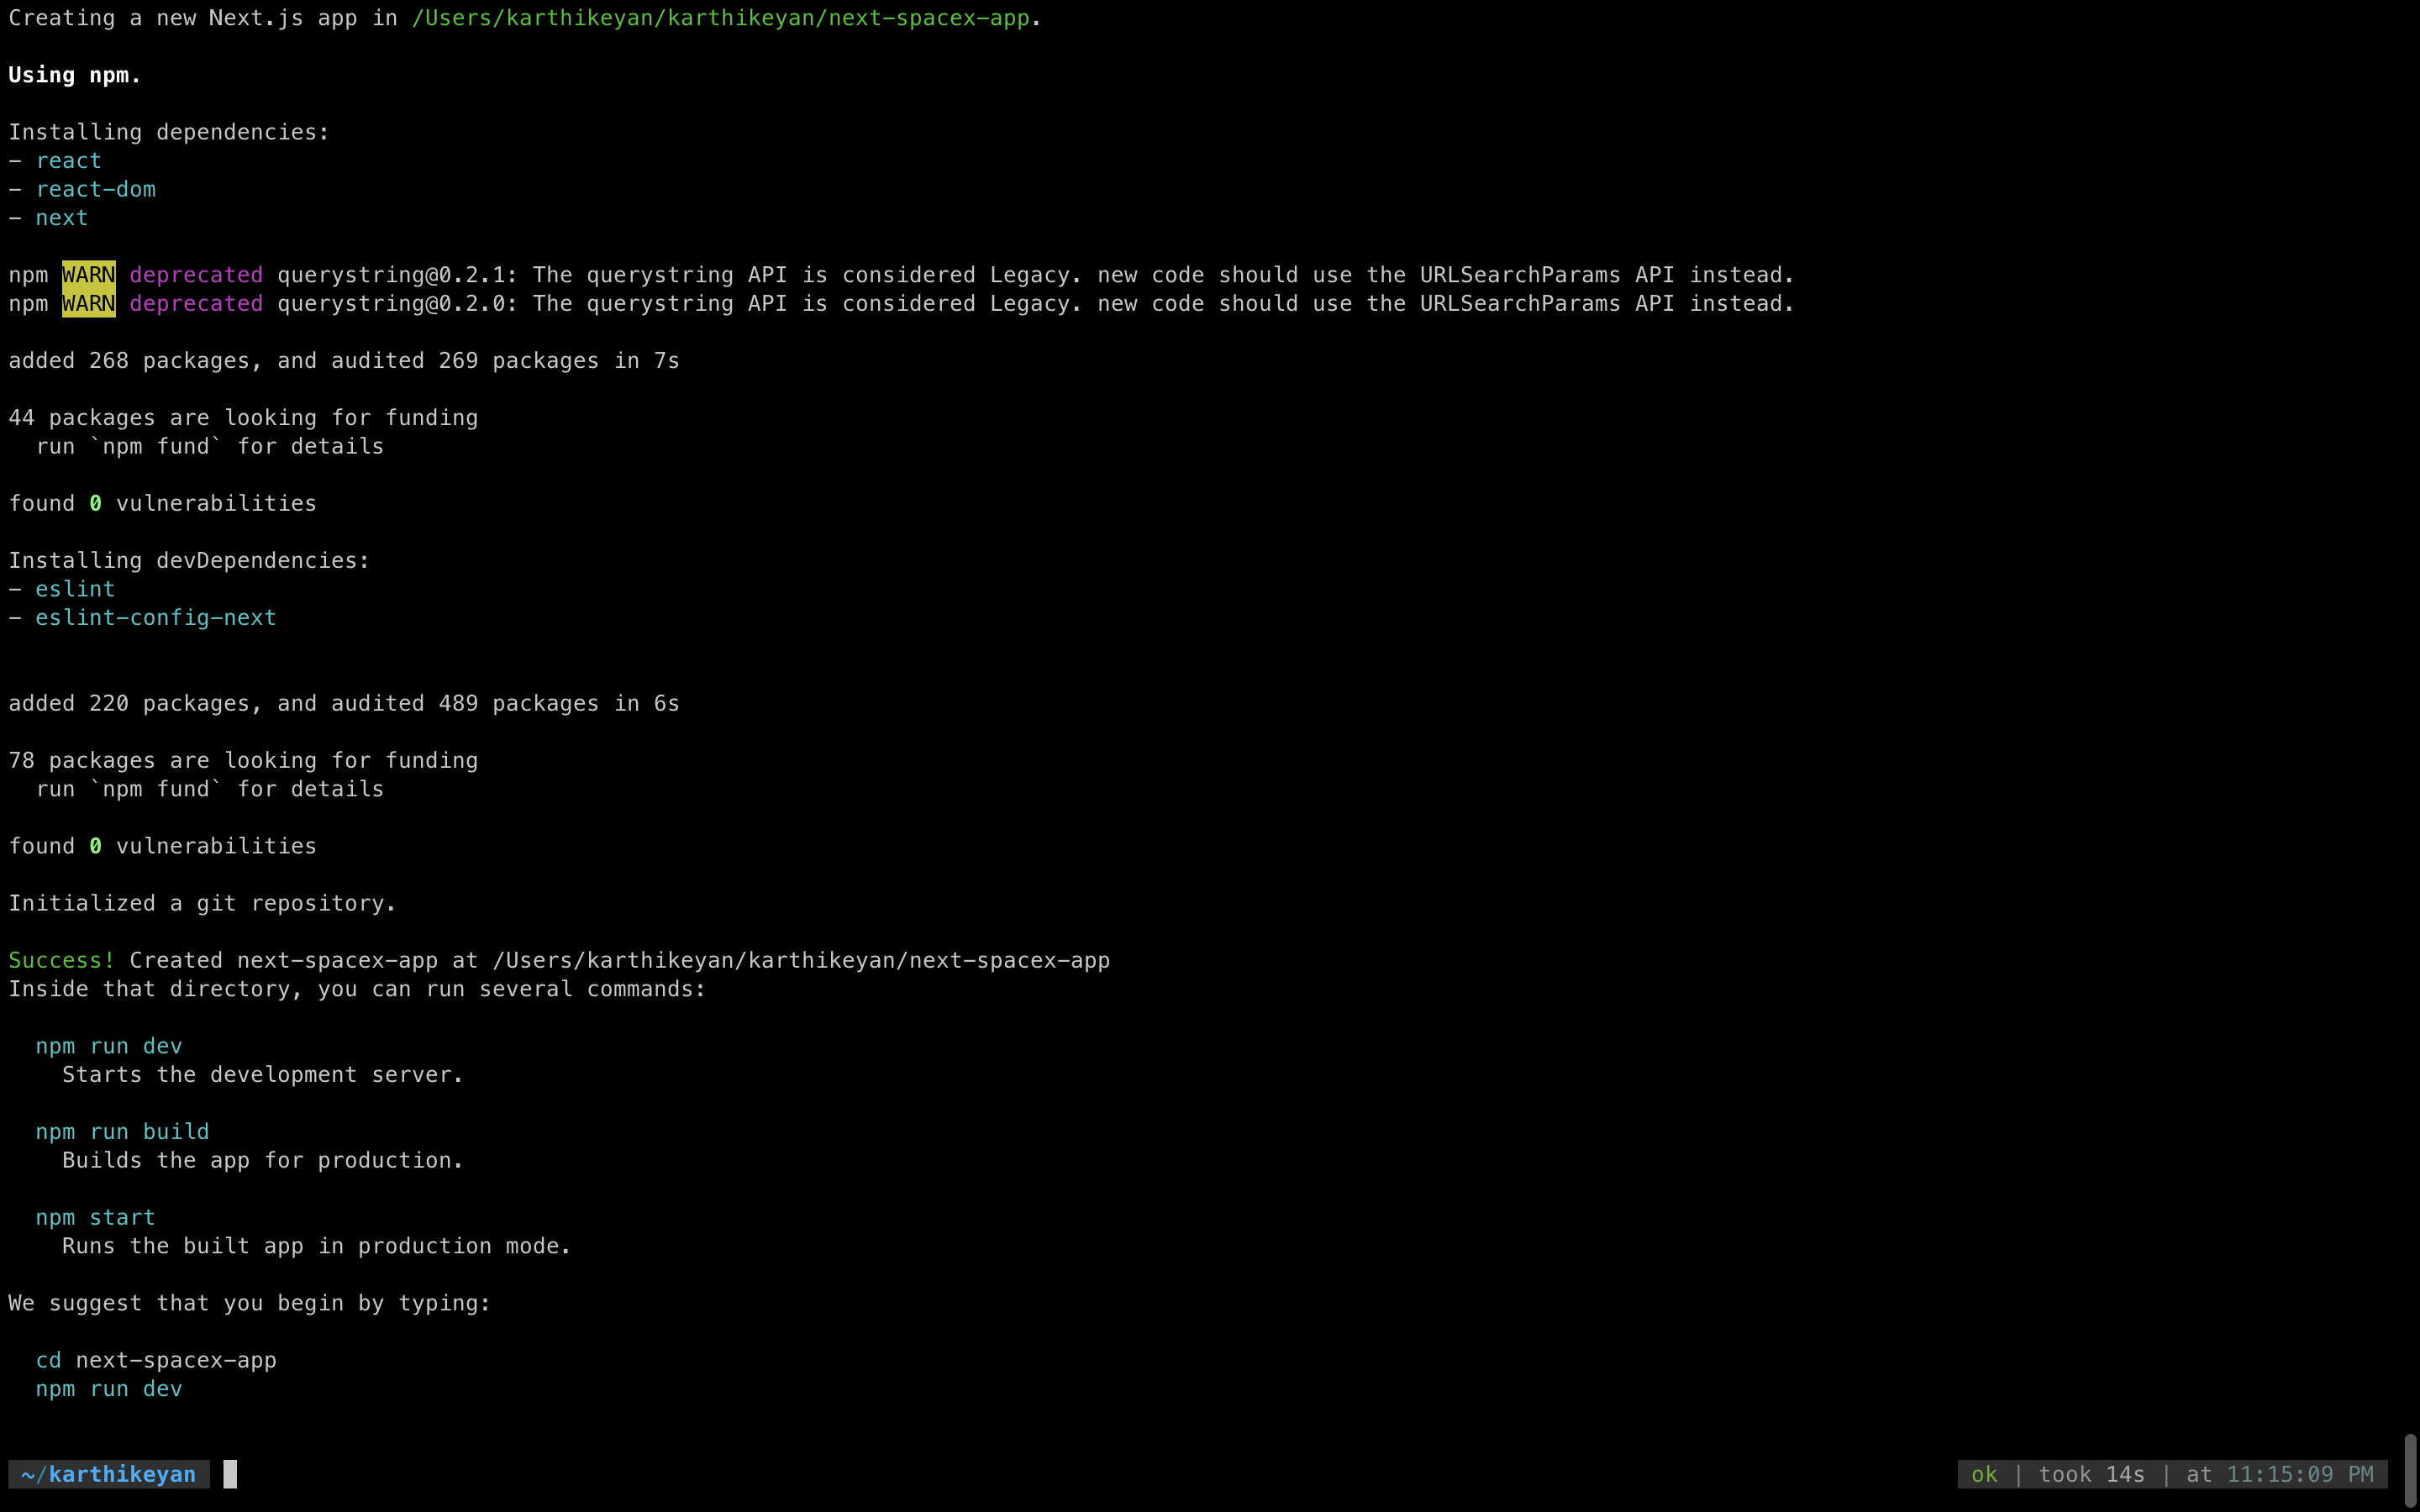
We will create our app with help of create-next-app library. Run the following command in your terminal.
npx create-next-app next-spacex-app
Let's fetch the information from the space-x api using useSWR hook. Navigate to pages/index.js and replace it with following code.
import Head from 'next/head'
import styles from '../styles/Home.module.css'
import useSWR from "swr"

const fetcher = url => fetch(url).then(res => res.json())
const url = "https://api.spacexdata.com/v4/rockets"

export default function Home() {
  const { data, error } = useSWR(url, fetcher)

  if (error) return <div>failed to load</div>
  if (!data) return <div>loading...</div>
  return (
    <div className={styles.container}>
      <Head>
        <title>Spacex Rocket Images</title>
        <meta name="description" content="Space X Images" />
        <link rel="icon" href="/favicon.ico" />
      </Head>

      <main className={styles.main}>
        <h1 className={styles.title}>
          <a href="https://www.spacex.com/"> SpaceX  </a> - Rocket  Image Gallery
        </h1>
        <div className={styles.grid}>
          {
            data.map(rocket => {
              return (

                <a href={rocket.wikipedia} className={styles.card}>
                  <h2>{rocket.name}</h2>
                  <img className={styles.image} src={rocket.flickr_images[0]} alt={rocket.name} />
                </a>

              )
            })
          }
        </div>

      </main>
    </div>
  )
}
As you can see, we are using the useSWR hook directly. Instead we can also write a custom hook and import it in our component and use that component in the pages.
The fetcher is wrapper of native fetch api , enables us to send the HTTP request to the server and then parse the response data to JSON.
Based on the data which we get from the api , we pull the images and render it on the screen.
If any error occurs, we handle it with the error data provided by SWR.
Let's check if we got it right , Open the terminal and run the following command
yarn dev
or
npm run dev
When we navigate to the browser http://localhost:3000 , we should be getting the images of the rocket rendered on our screen
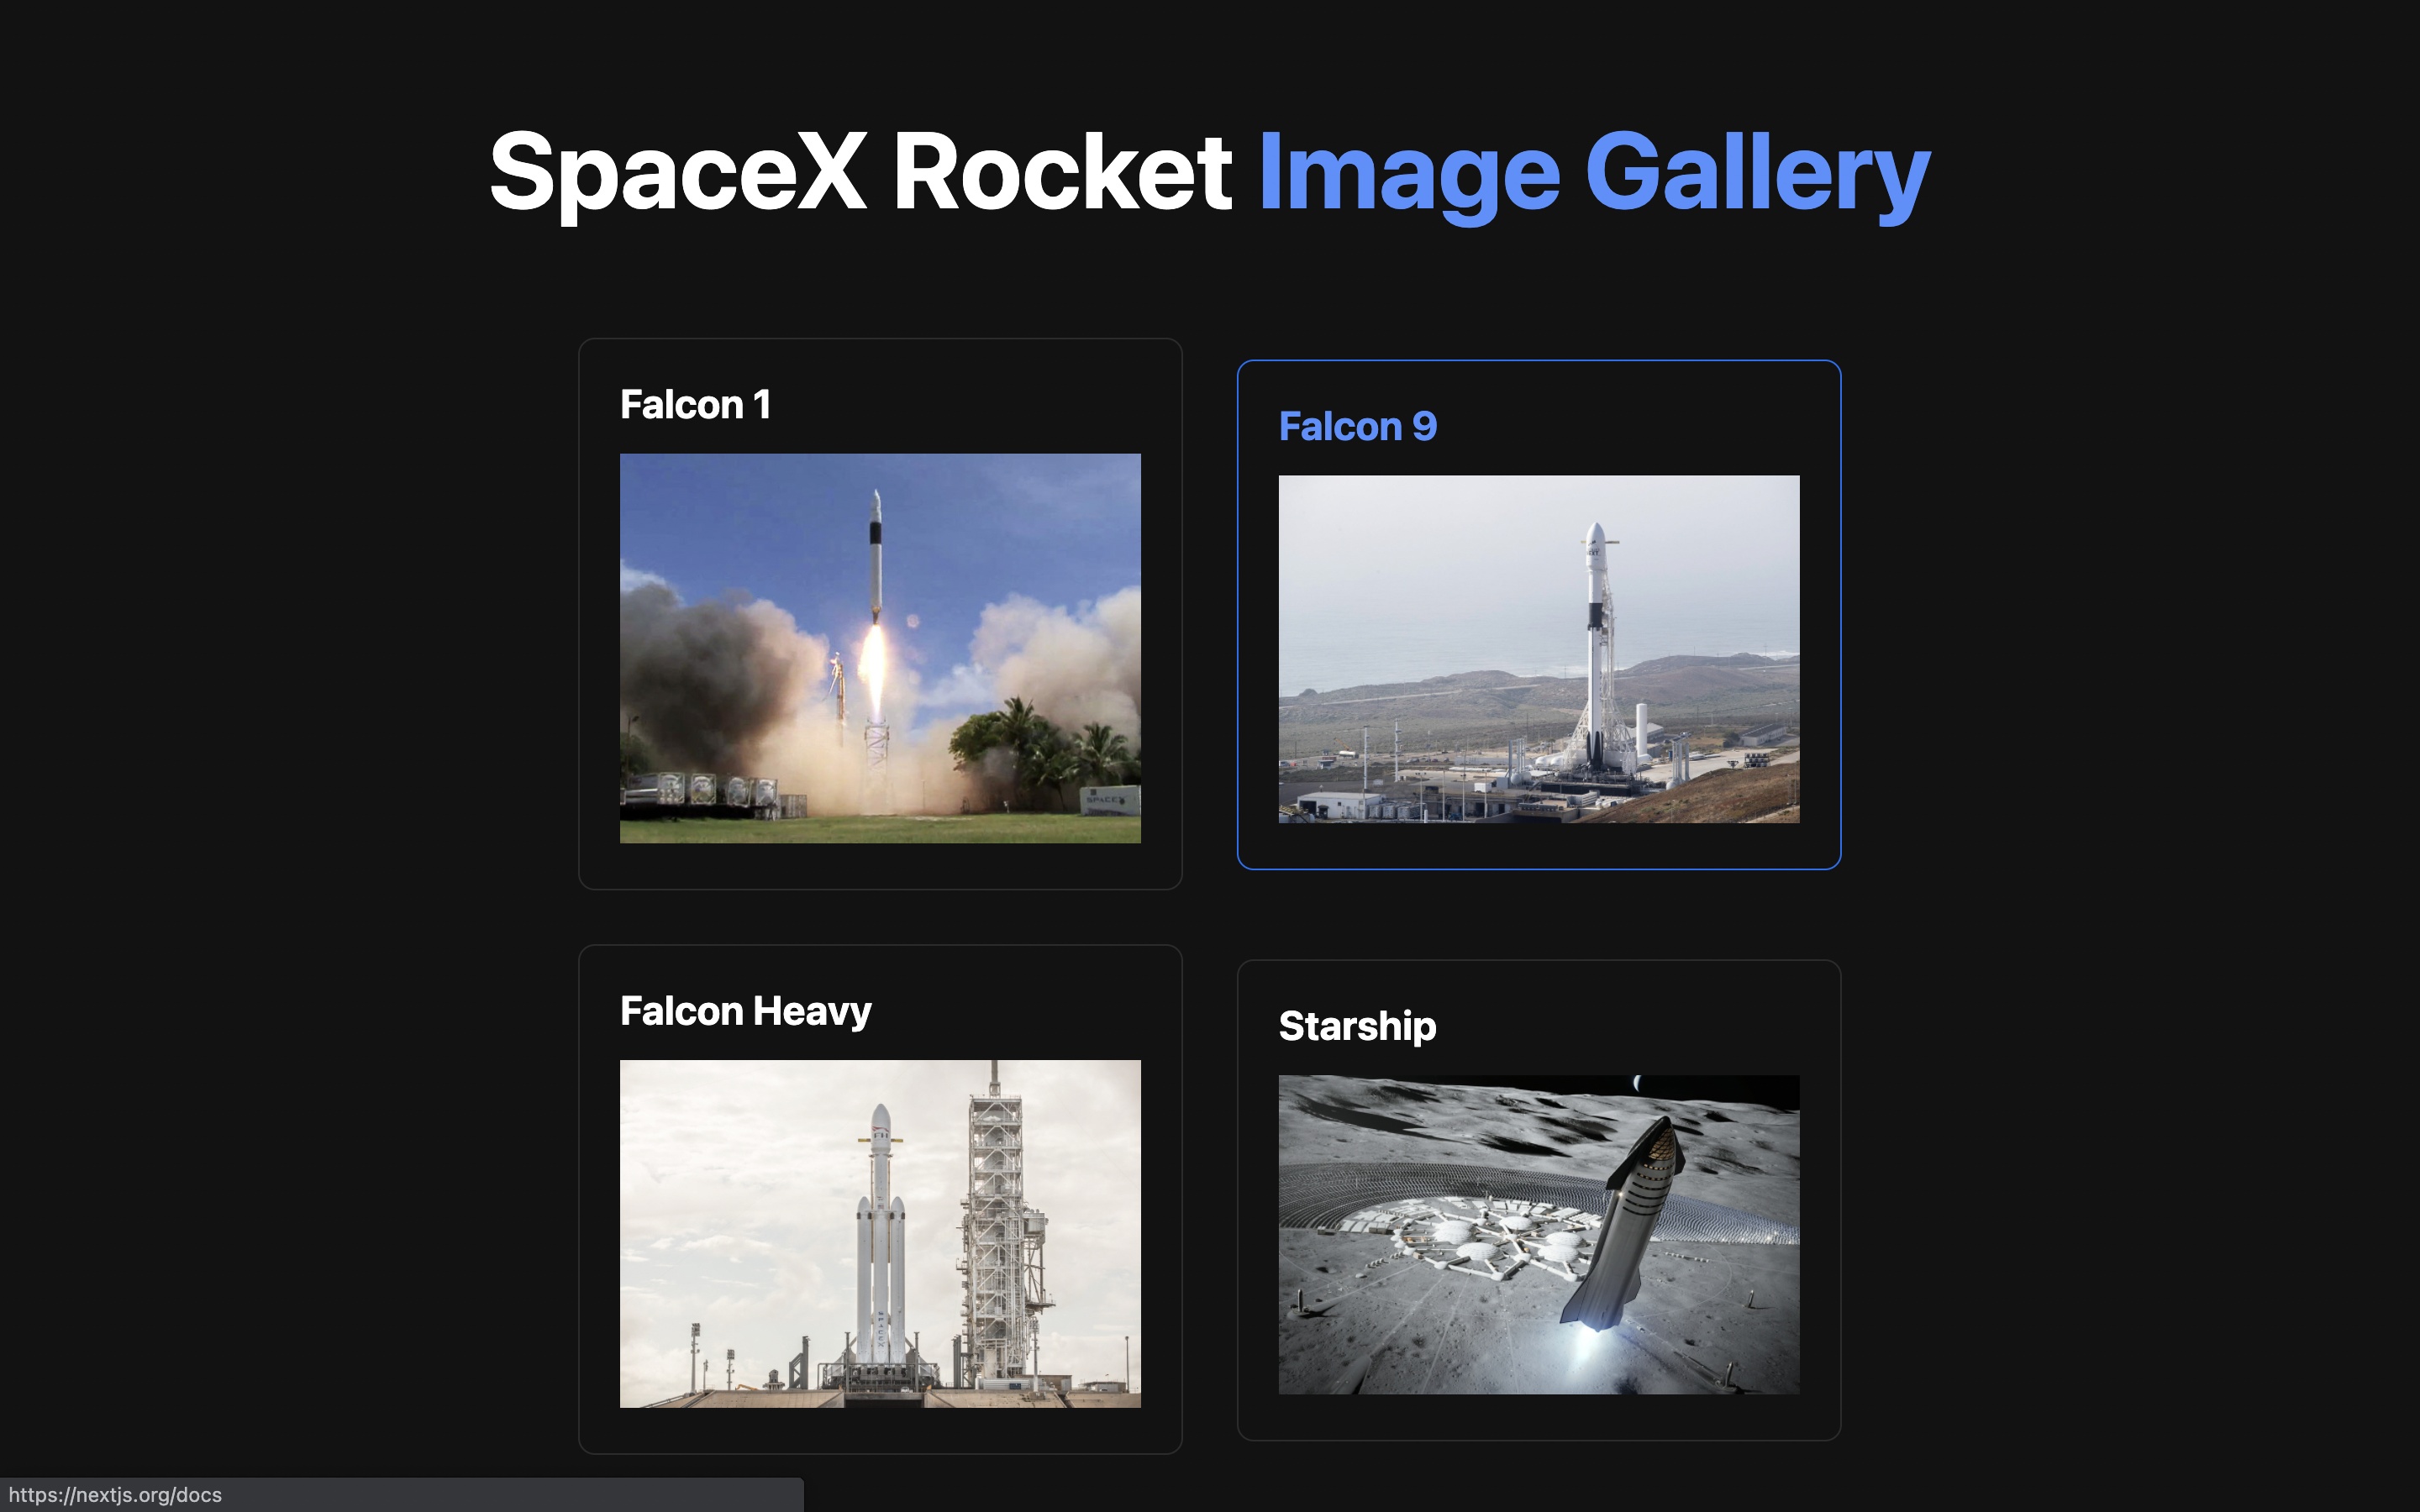
We made it. SpaceX data are successfully fetched from the server using the useSWR hook. 🎉
You can find the code in the repository.
Thank you for reading. Let me know your thoughts in the comments section.

Stay Safe and Happy Coding.


