How to add comments using Utterances to your Next.js Blog ?

Writing code, breaking things, then pretending it was a feature. 🤡 | Senior Software Engineer | Dreaming of Big Tech, a GDE badge, and a Koenigsegg. 🚀
Hello everyone, In this blog post we will be seeing how to add comments using utterances to your Next.js blog.
Outline
1. What is Utterances ?
2. Setting up Utterances.
3. Adding utterances to Next.js blog.
4. Conclusion.

What is Utterances ?
A Open source, lightweight comments widget built on GitHub issues. With help of utterances we can add commenting system to our blog. When a person comments via the widget it will be logged as issue to the repository in which the utterances has been configured.
Setting up Utterances
Let's create a GitHub repository were we can install utterances.
I have already created mine and named it as next-blog-utterances
Next step is to install utterances app to our github account.
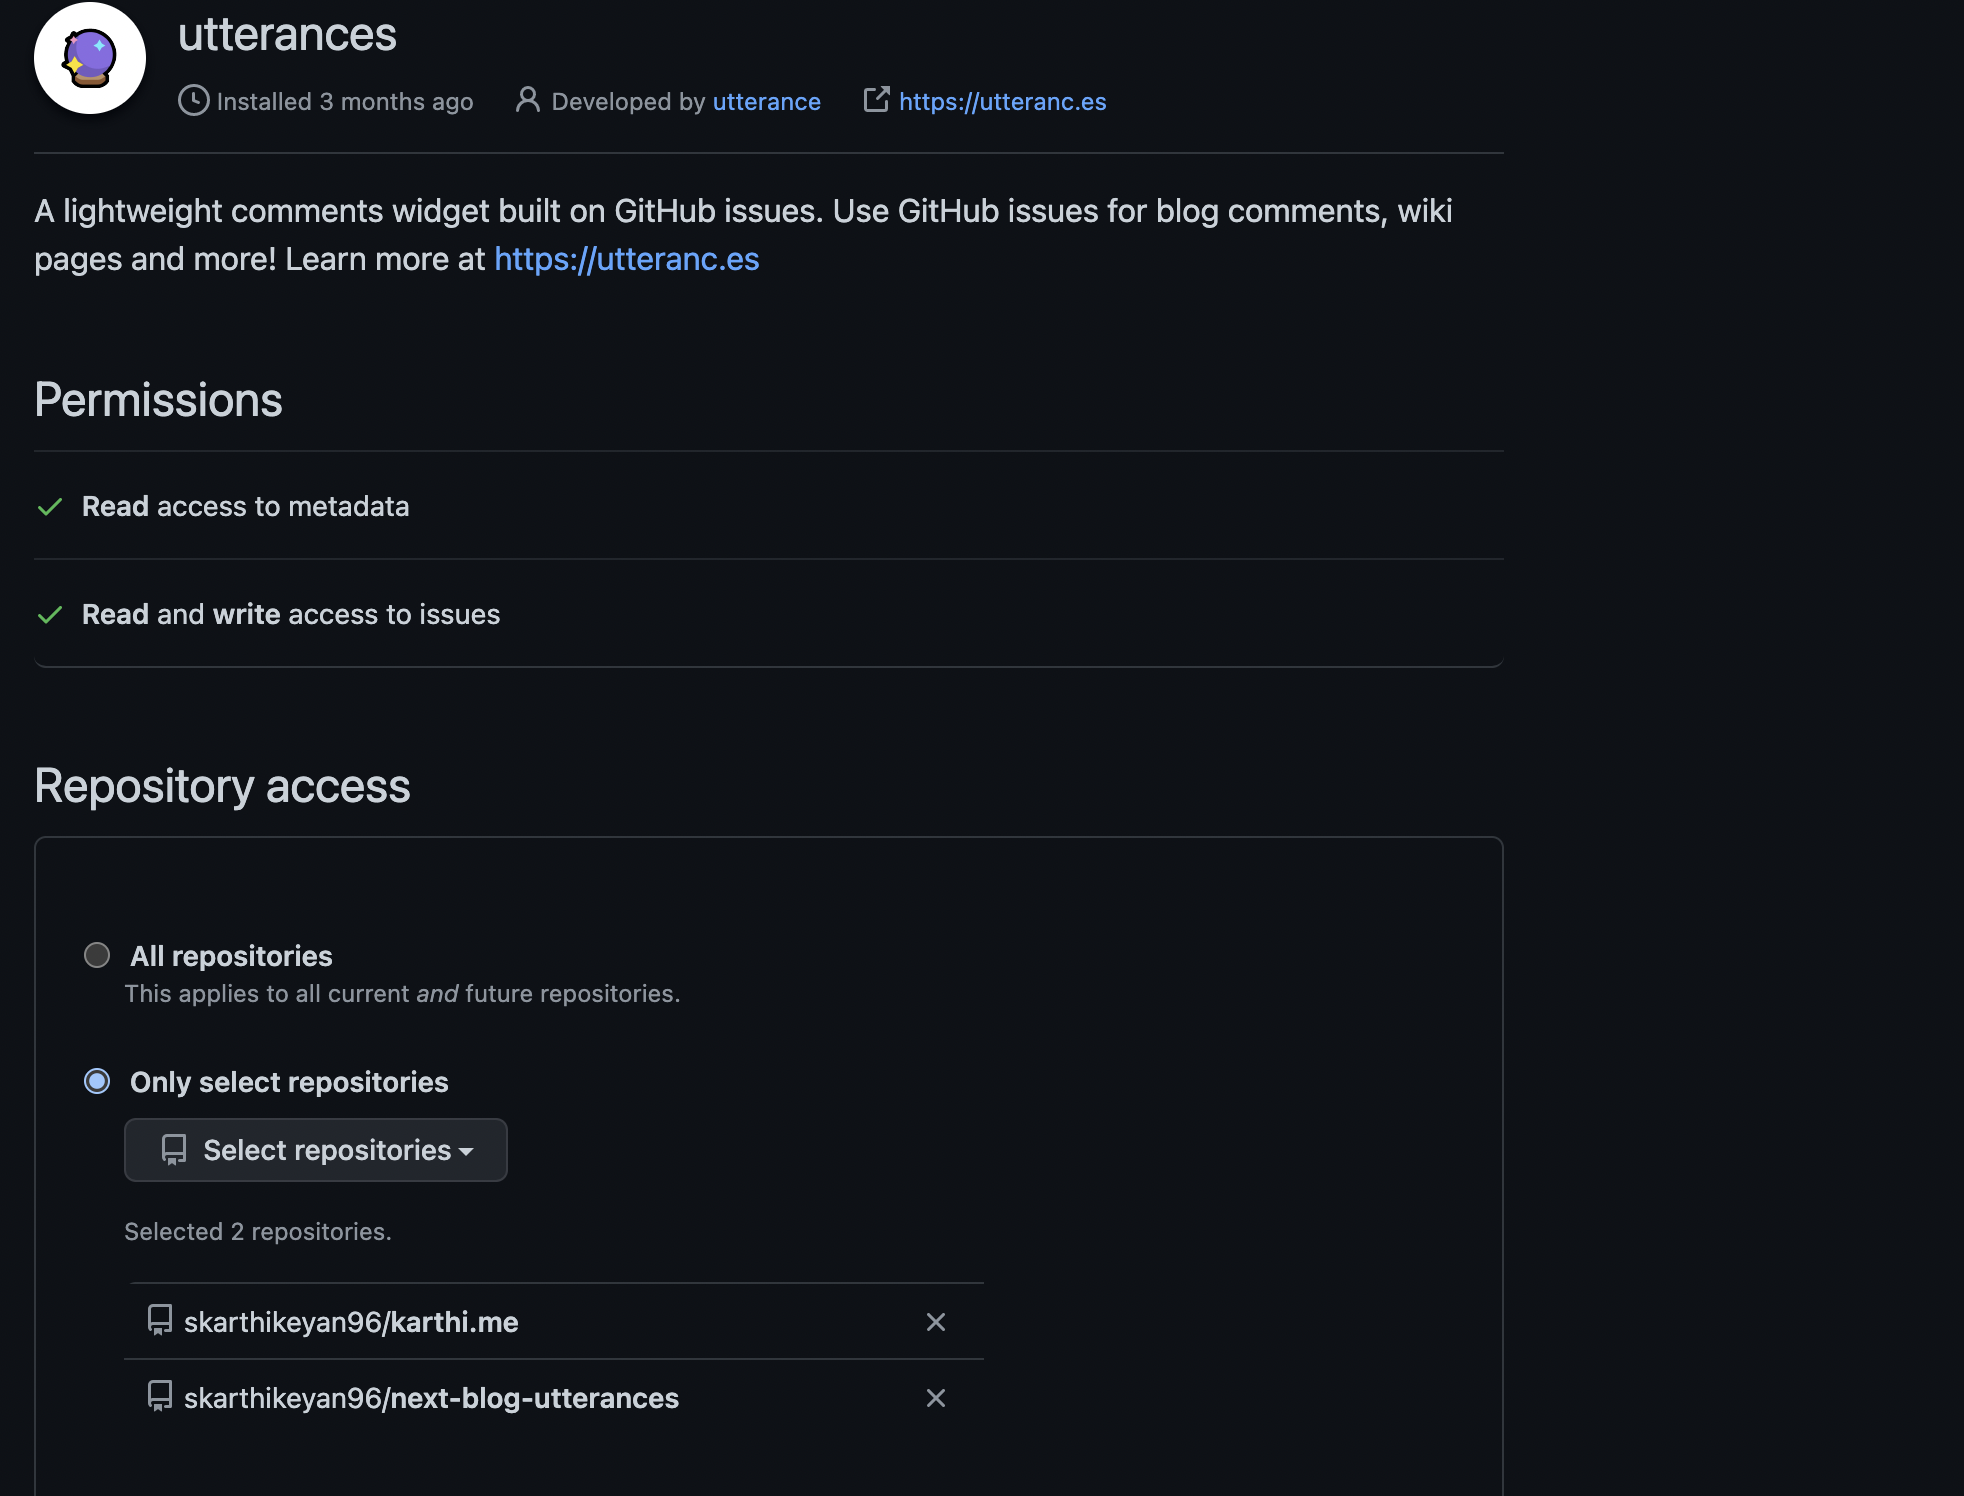
Navigate to this link and install the utterances app. Once done you will be asked to allow access to all the repositories or selected repositories.
let's give access only to the selected repositories.
Adding Utterances to Next.js blog.
Let's bootstrap our Next.js application. I am going to be using the starter blog by Next.js.
npx create-next-app --example blog-starter blog-starter-utterances
Once done run yarn dev and navigate to localhost:3000 in our browser.

Now it's time to add our comments component to our post page.
Navigate to components folder and create comments.js file and paste in the following code.
import React, { useRef } from "react";

import useScript from "../lib/use-script";

const Comments = () => {
  const comment = useRef(null);

  const status = useScript({
    url: "https://utteranc.es/client.js",
    theme: "github-dark",
    issueTerm: "url",
    repo: "skarthikeyan96/next-blog-utterances",
    ref: comment
  });

  return (
    <div className="w-full">
      {
        <div ref={comment}></div>
      }
    </div>
  );
};

export default Comments;
let's create custom useScript hook. Navigate to lib and create a file use-script.js and paste in the following code.
Note:
In this blog , I will be not be going in depth on the React hooks concept. For more understanding on the hooks concept , there is amazing series on hooks written by Victoria Lo.
Back to coding
import { useEffect, useState } from "react";

// we need a function that accepts the script src and couple of other parameters

const useScript = (params) => {
  const { url, theme, issueTerm, repo, ref } = params;

  const [status, setStatus] = useState(url ? "loading" : "idle");

  console.log(params);

  // run the useEffect when the url of the script changes
  useEffect(() => {
      if (!url) {
        setStatus("idle");
        return;
      }

      let script = document.createElement("script");
      script.src = url;
      script.async = true;
      script.crossOrigin = "anonymous";
      script.setAttribute("theme", theme);
      script.setAttribute("issue-term", issueTerm);
      script.setAttribute("repo", repo);

      // Add script to document body
      ref.current.appendChild(script);

      // store status of the script

      const setAttributeStatus = (event) => {
        /**
         * Console.log value from event
            {
                bubbles: false
                cancelBubble: false
                cancelable: false
                composed: false
                currentTarget: null
                defaultPrevented: false
                eventPhase: 0
                isTrusted: true
                path: [script]
                returnValue: true
                srcElement: null
                target: null
                timeStamp: 276483.5
                type: "load"
            }

            based on the type property we will get know whether script is ready or errored out
            */

        setStatus(event.type === "load" ? "ready" : "error");

      };

      script.addEventListener("load", setAttributeStatus);
      script.addEventListener("error", setAttributeStatus);

      return () => {
       // useEffect clean up
        if (script) {
          script.removeEventListener("load", setAttributeStatus);
          script.removeEventListener("error", setAttributeStatus);
        }
      };

  }, [url]);
  return status;
};

export default useScript;
useScript hook takes in the source of the script , github repo which the user wants the comments to be created as issues, theme , issue-term and ref ( functionality in react which allows us to access the dom element ).
Then we add create our script element, plug in all the attributes and listen to script events load and error. Based on the type of the event , we set the status of the script and return it back to our component.
The returned status of the script will be used by comments component which then creates the iframe and renders the comments as expected.
Once done just reference the comments component in the pages/posts/[slug].js
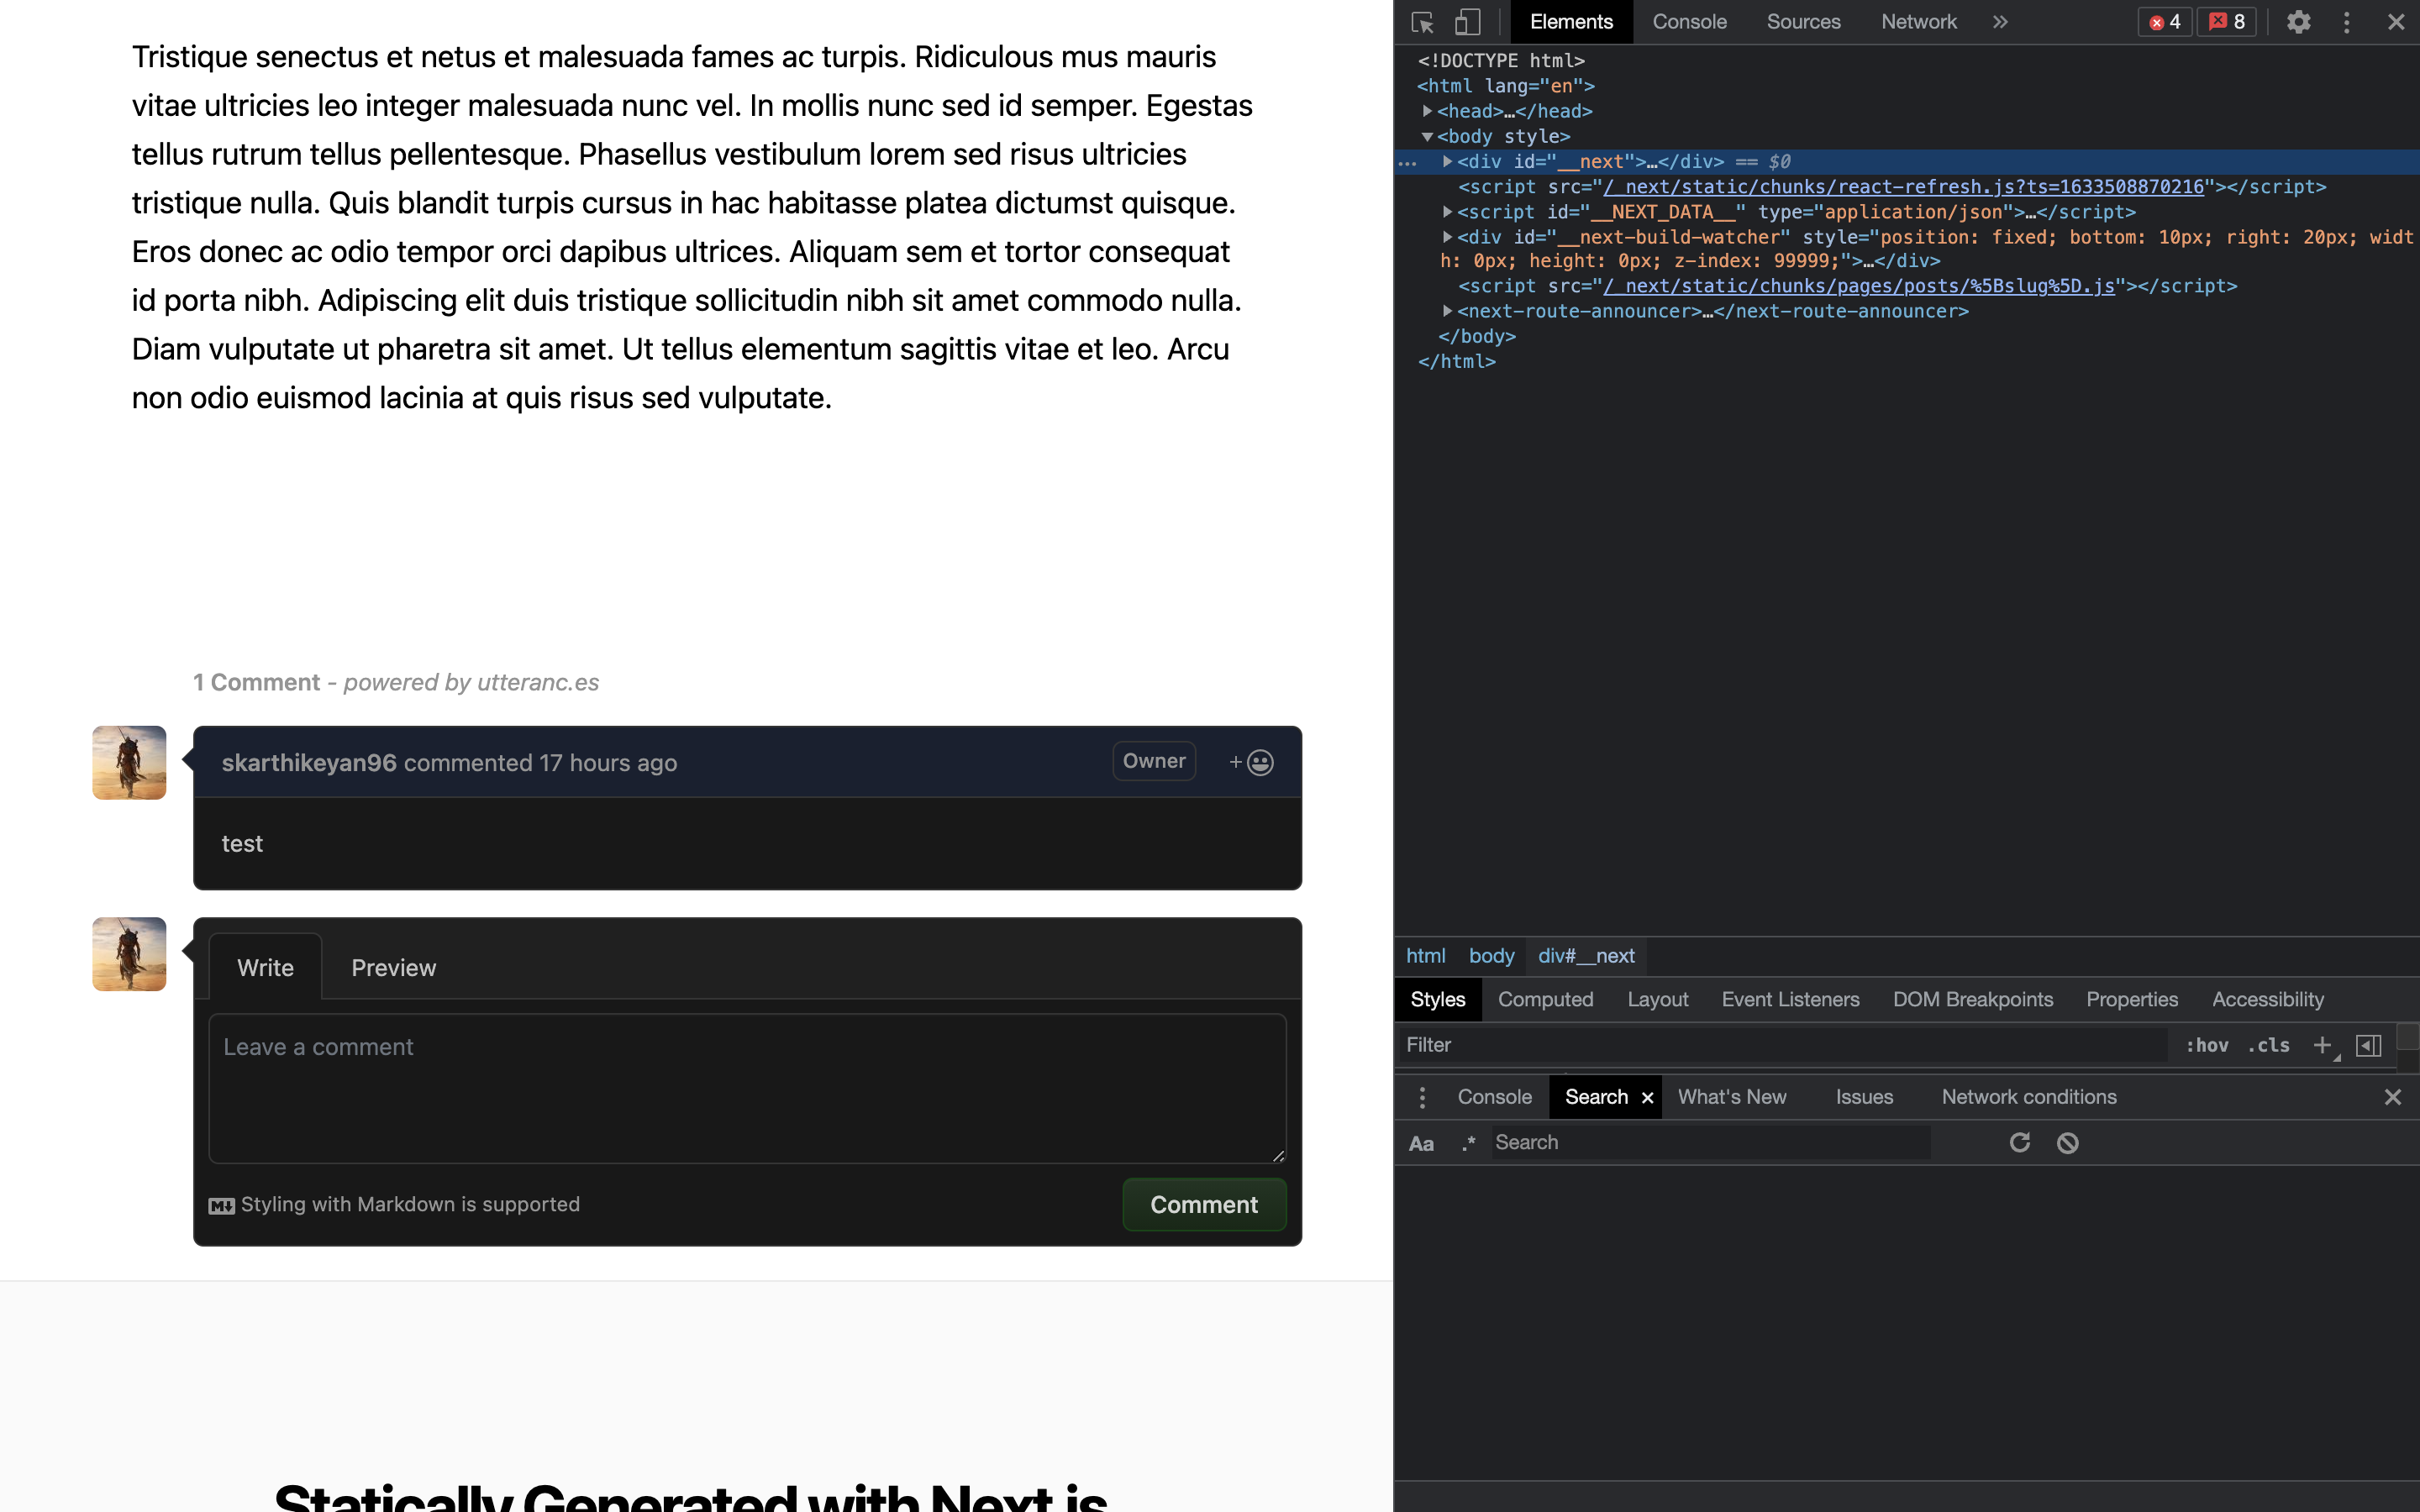
Now head over to localhost:3000 to see the magic
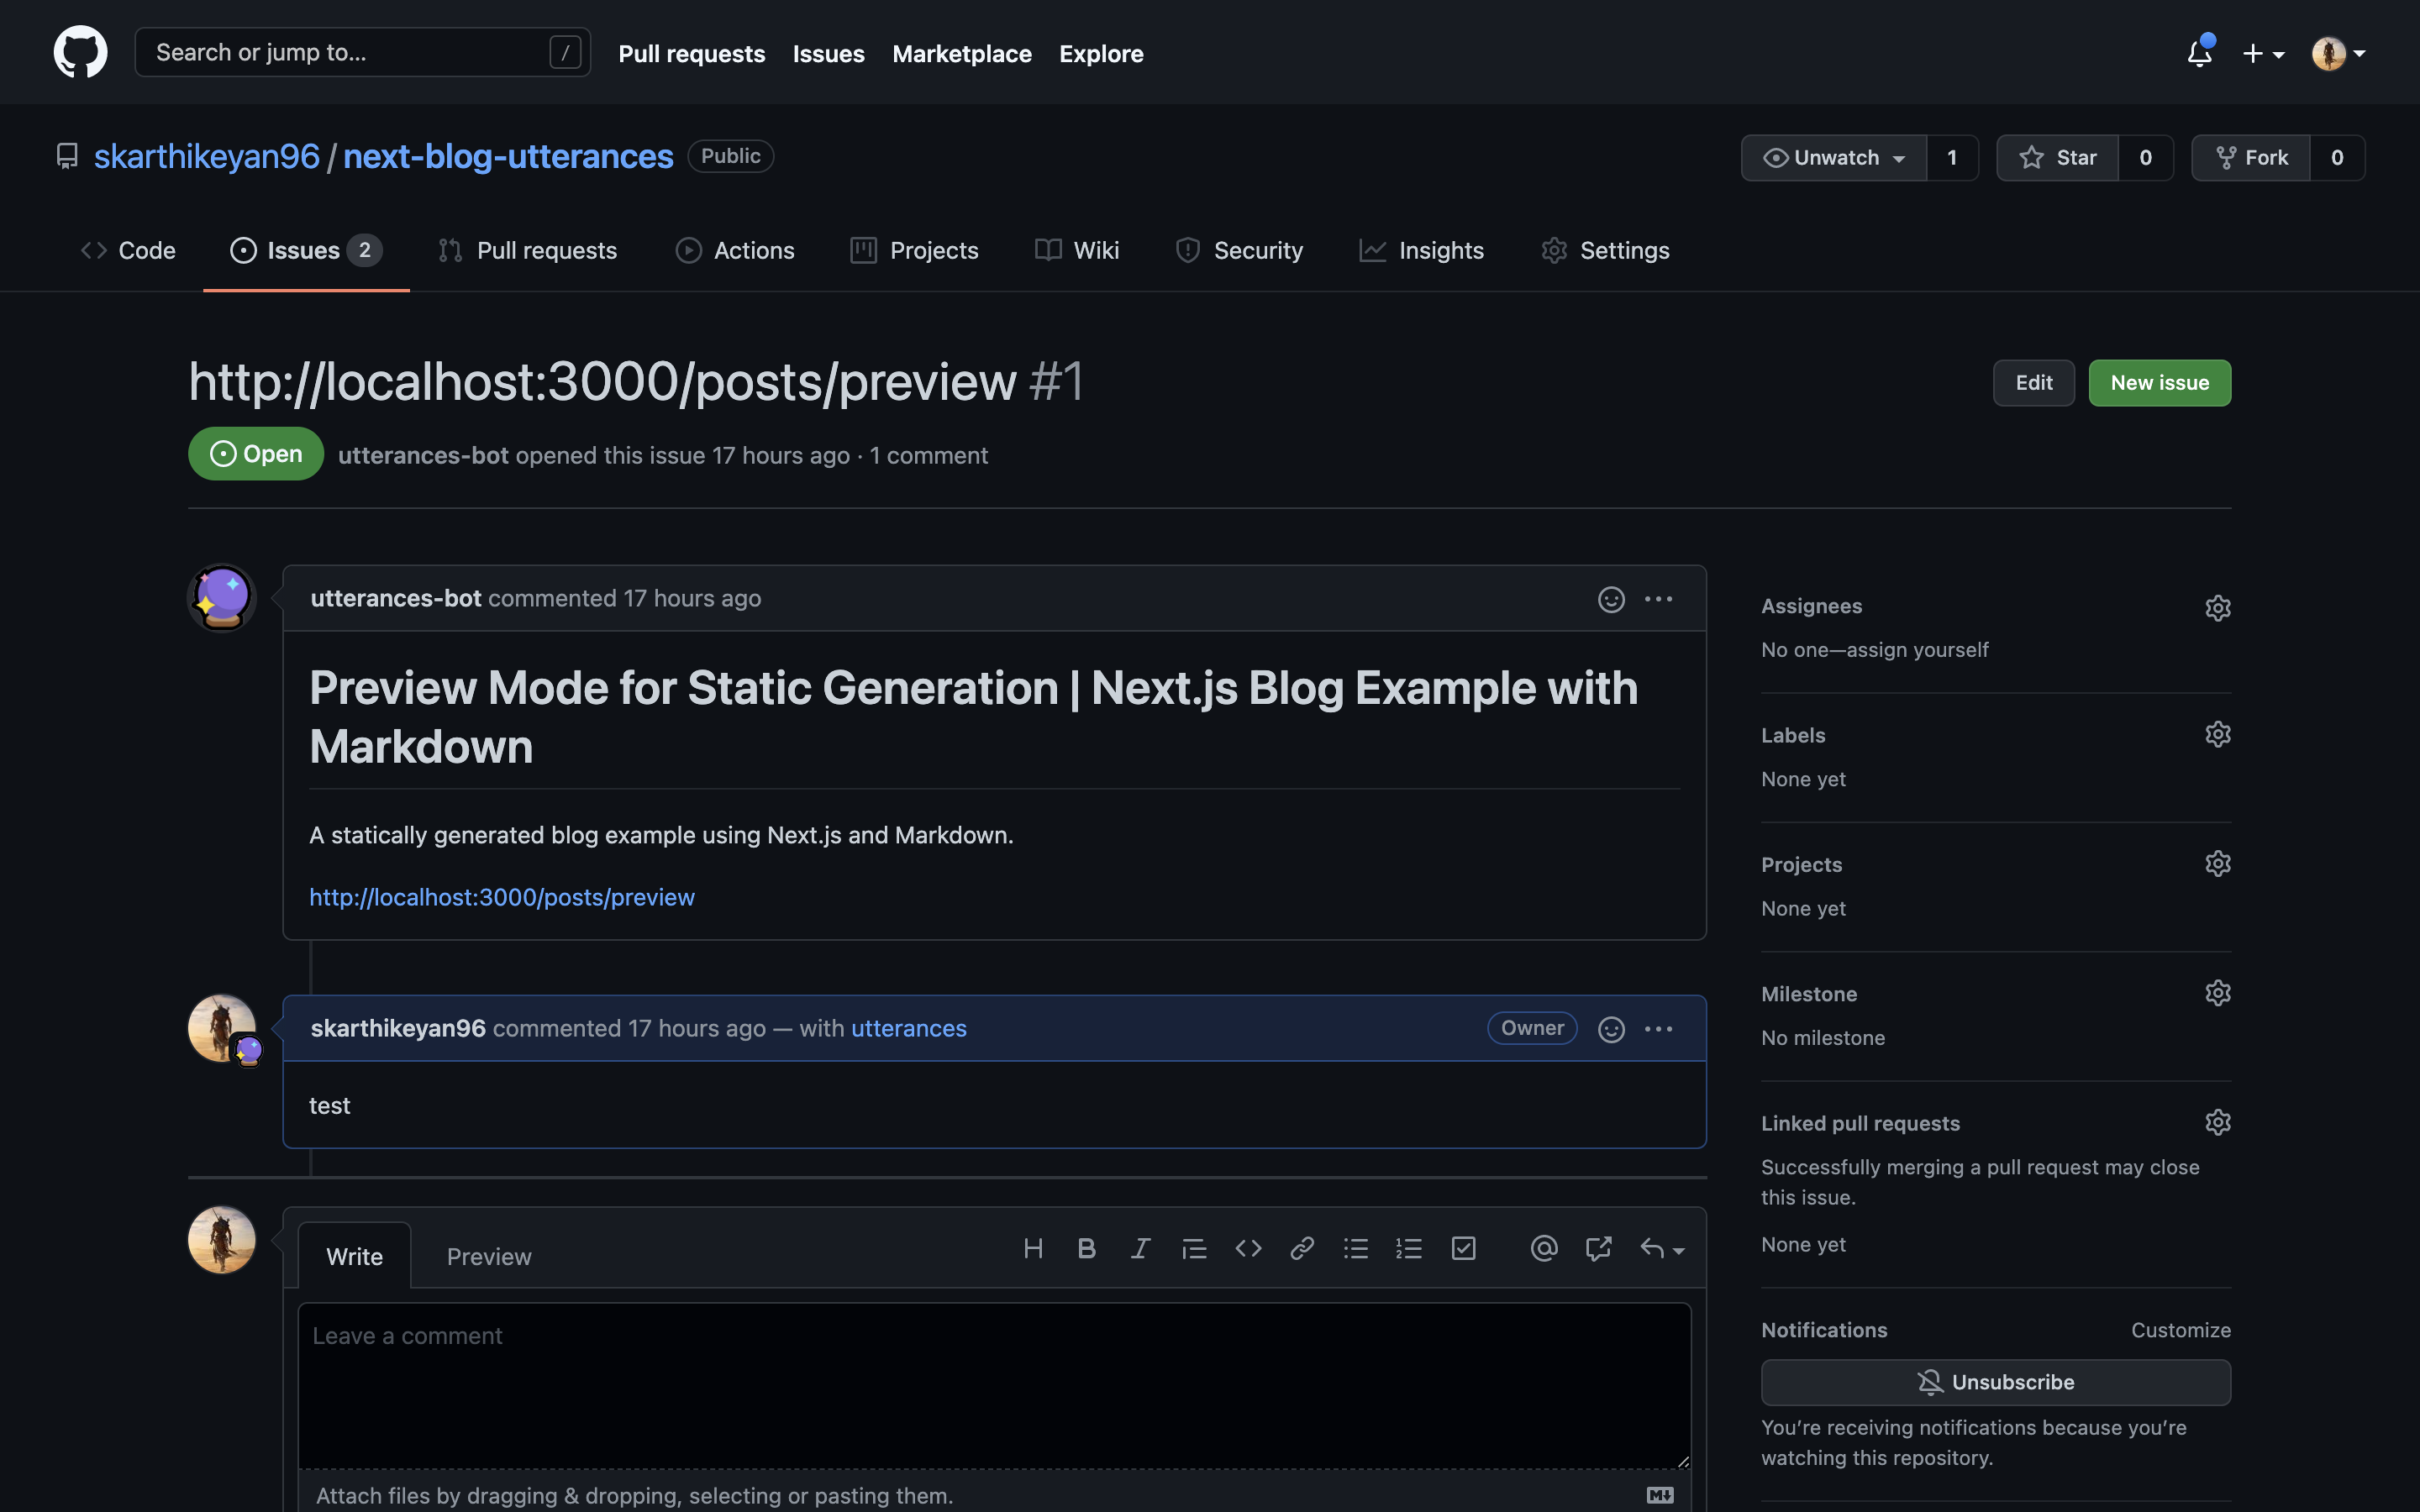
and when you head over to the configured github repository , you should be able to see the issues created.
🎉🎉🎉 Congratulations you have successfully integrated utterances to your Next.js blog. The same process can be followed to add utterance to any web application with some tweaks.

Conclusion.
Thank you for taking the time to read the blog post. If you found the post useful , add ❤️ to it and let me know if I have missed something in the comments section. Feedback on the blog are most welcome.