In this blog , we will be seeing how to add dark mode to your Next.js project using Tailwind.
let’s get started
Stack
- Next.js
- Tailwind css
- next-themes
- Typescript
First things first , Let’s setup our Next.js Project. Head over to the terminal and type in the following command
npx create-next-app next-tailwind-boilerplate --ts
The above command will spin up a brand new Next.js project with eslint pre-configured.
cd next-tailwind-boilerplate
yarn dev
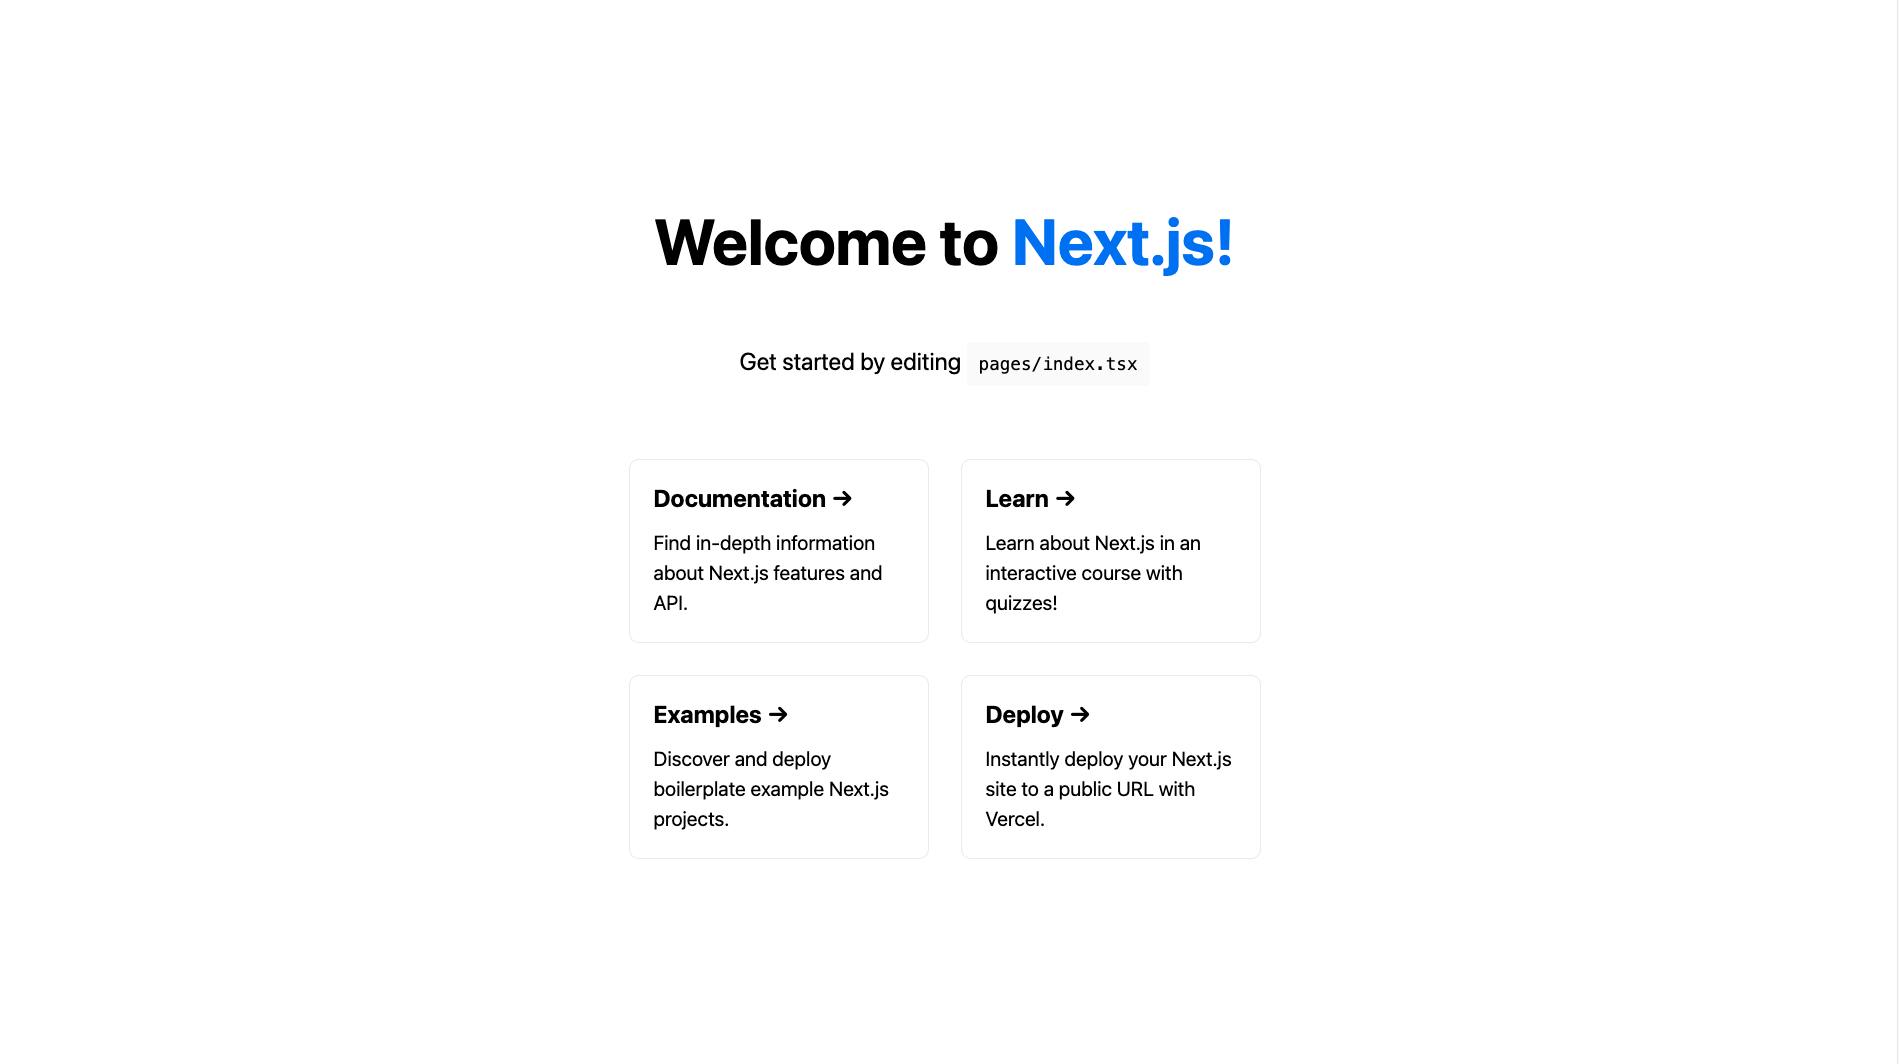
After running the above command you should see the default Next.js site on your screen

Adding Tailwind css :
Let’s add tailwind css to our project. We will be following the steps from the tailwind’s official docs. Head over to the terminal and type in the following command
yarn add tailwindcss postcss autoprefixer -D
npx tailwindcss init -p
Note: You can use npm as well to install your dependencies.
The above command will install tailwindcss, it’s dependencies and generates both tailwind.config.js and postcss.config.js. Head over to the config and paste the following. This will help tailwind css to know which files it needs to look for the classNames.
More info on the docs about content configuration.
// tailwind.config.ts

module.exports = {
  content: [
    "./pages/**/*.{js,ts,jsx,tsx}",
    "./components/**/*.{js,ts,jsx,tsx}",
  ],
  theme: {
    extend: {},
  },
  plugins: [],
}
Now we will be injecting tailwind css to our project. Head over to the global.css file and add in the following
/* global.css */

@tailwind base;
@tailwind components;
@tailwind utilities;
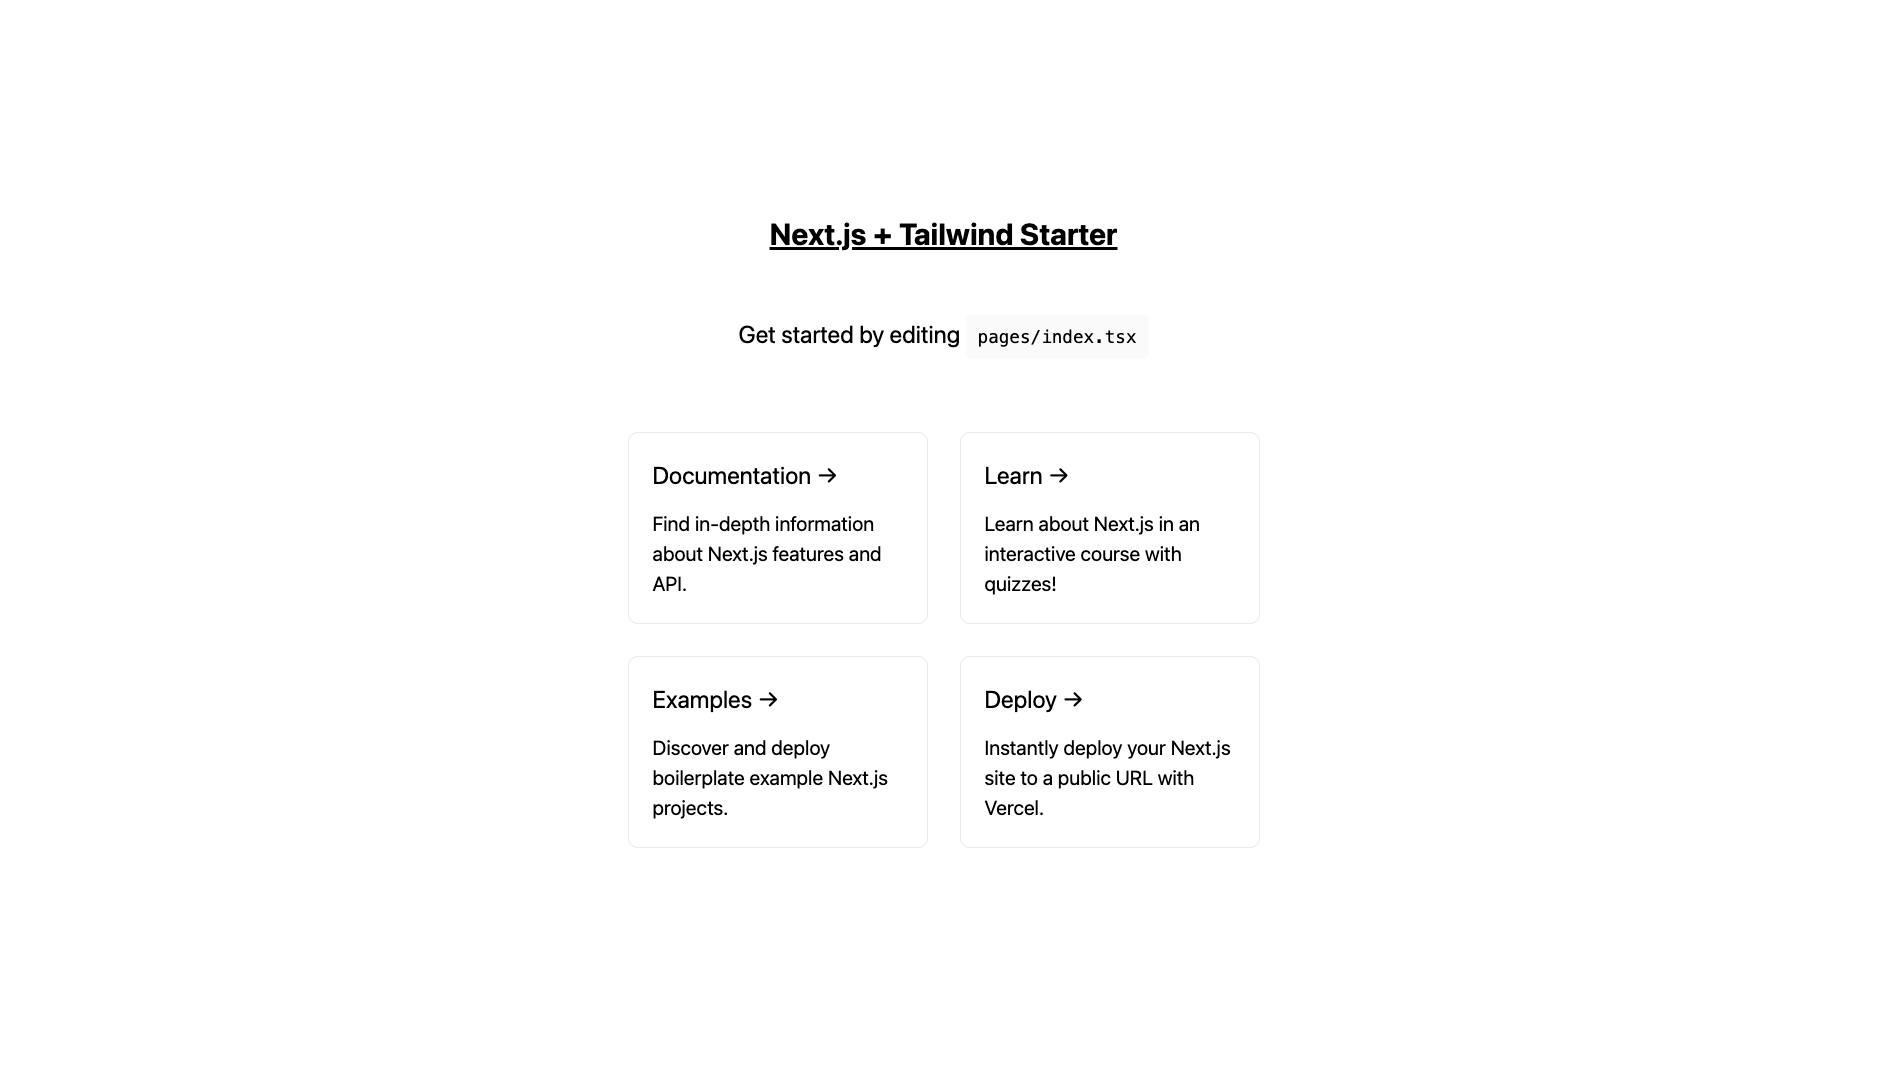
Once done, add tailwind’s class to your index.tsx in pages directory. Now kill your server and run it again using yarn dev -p 3001 in your terminal. Go to browser and hit localhost:3001 .
...
<h1 className="text-3xl font-bold underline">
   Next.js + Tailwind Starter
</h1>
...

Adding dark mode using next-themes :
We will be using next-themes to add dark mode toggle to our Next.js project. It has ThemeProvider which we can wrap our application and make use of the useTheme hook to get the current theme of the application.
Head over to the terminal and type in the following command
yarn add next-themes
Go to _app.tsx file and add in the following content and head over to the browser.
// _app.tsx

import { ThemeProvider } from 'next-themes'
import type { AppProps } from 'next/app'

export default function MyApp({ Component, pageProps }: AppProps) {
  return(
    <ThemeProvider enableSystem={true} attribute="class">
      <Component {...pageProps} />
    </ThemeProvider>
  )
}
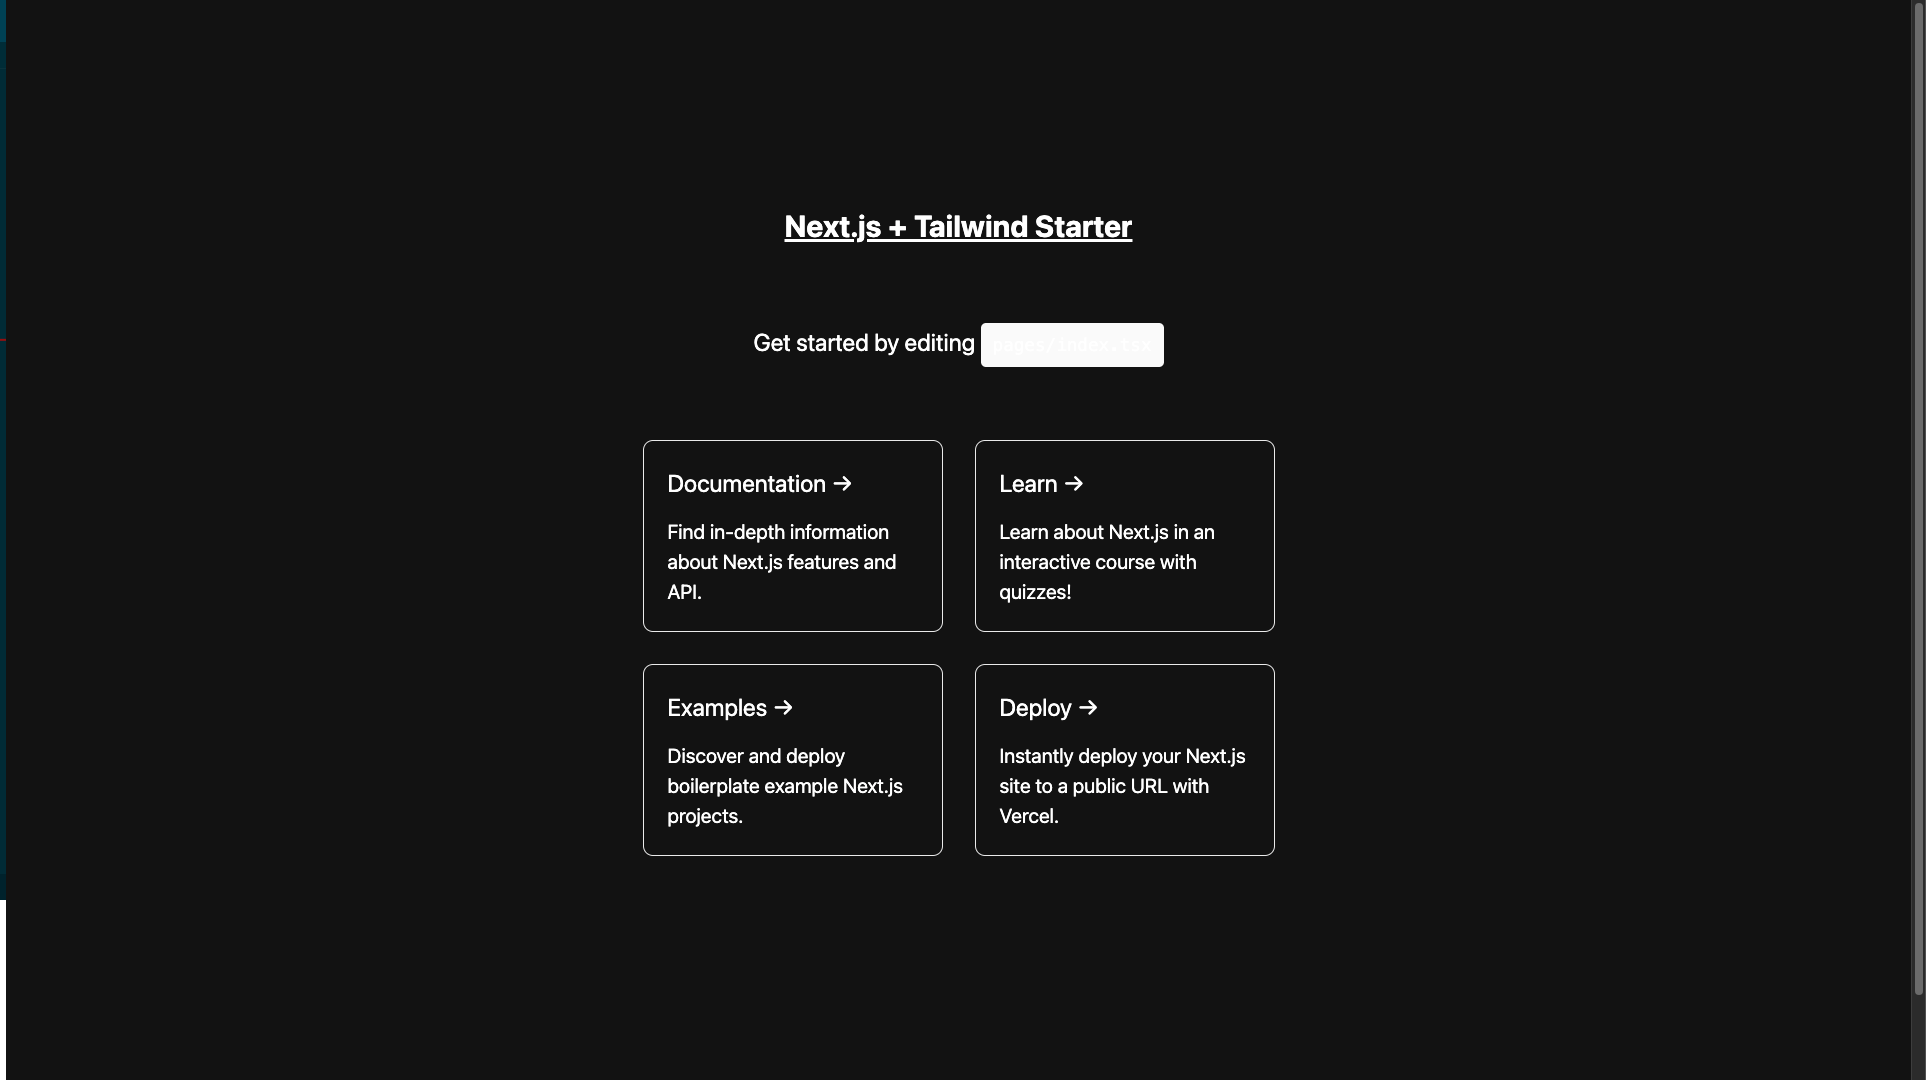
You should see something like this. At first, It will take theme value from the system configuration. If you have dark mode enabled, when you set up your ThemeProvider then it will be dark else it will be in light mode.
Note: Try out the above thing which I mentioned by changing your system’s theme to light mode and go to the browser window to check the outcome. Let me know in the comments how it went.
Since we will be using tailwind’s class attribute to take care of the dark mode related styles attribute in the ThemeProvider will be class .

One more small change we need to make. Go to tailwind.config.ts and add darkMode attribute and set it to class. The reason is we will be using className attribute to change to add relevant dark mode styles to our application.
module.exports = {
  darkMode: 'class',
  content: [
    "./pages/**/*.{js,ts,jsx,tsx}",
    "./components/**/*.{js,ts,jsx,tsx}",
  ],
  theme: {
    extend: {},
  },
  plugins: [],
}
Let’s add dark mode styles to our application. Head over to pages/index.tsx file and update the following. Head over to the browser and see the reflected change.
//index.tsx

...

<p className={styles.description}>
  Get started by editing{' '}
<code className='**dark:text-blue-400**'>pages/index.tsx</code>
</p>
...
Let’s build out the toggle button. Head over to the pages/index.tsx and update the following
import type { NextPage } from 'next'
import Head from 'next/head'
import styles from '../styles/Home.module.css'
import { useTheme } from 'next-themes';

const Home: NextPage = () => {

  const { systemTheme, theme, setTheme } = useTheme();

    // toggle responsible for changing the theme
  const renderThemeToggle = () => {
    const currentTheme = theme === "system" ? systemTheme : theme;
    if (currentTheme === "dark") {
      return (
        <button
        className='border rounded-sm p-2'
          onClick={() => setTheme("light")}
          type="button"
        > dark </button>
      );
    }
    return (
      <button
      className="border rounded-sm p-2"
      onClick={() => setTheme("dark")}
      type="button"
    > Light </button>
    );
  };

  return (
    <div className={styles.container}>
      <Head>
        <title>Next.js and Tailwind starter</title>
        <meta name="description" content="Next.js and Tailwind starter" />
        <link rel="icon" href="/favicon.ico" />
      </Head>

      <main className={styles.main}>
        <h1 className="text-3xl font-bold underline mb-4">
          Next.js + Tailwind Starter
        </h1>

        {renderThemeToggle()}

        <div className="m-3 pt-8">
          <h3 className='text-blue-400 dark:text-white'> Current theme is { theme }</h3>
         </div>
      </main>


    </div>
  )
}

export default Home
In the above code , we have made use of the next-themes hook to tell us what theme we are currently and use that to render the same thing on the browser.
Head over to your browser to see the magic.

🎉 You have successfully added the toggle button which will switch between light and dark mode.
Repository link: https://github.com/skarthikeyan96/next.js-tailwind-starter/tree/main
Conclusion :
That's pretty much it. Thank you for taking the time to read the blog post. If you found the post useful , add ❤️ to it and let me know if I have missed something in the comments section. Feedback on the blog are most welcome.
Let's connect on twitter : (https://twitter.com/karthik_coder)

