In this blog , we are going to see how we can sign your Github commits and get the verified sign when you commit your code.

Before jumping on to the how part of this blog. Let’s quickly see why we have to sign our commit message.
Introduction:
When we are committing a piece of code via Pull request to a repository. how does the open source repository maintainer can know that you are who you say you are ?
You might have question, When I setup my git client in my machine I am configuring name , email address and personal token, also when I commit something via PR my email address is displayed in the commit message. What more they need to verify ?
Hold that thought !!!
Let’s just say user A has mail address of a@mail.com is regular contributor of open source repository. All I have to do his configure his name and email in my email with git config command and I can open a sketchy PR which will have higher possibility of getting merged.
By regularly signing the commits, OSS maintainer can be sure you are the author for the committed code change.
Now that we have established , it is easy to impersonate someone. Let’s see how we can sign the commits.
We will be signing our commit with help of GPG key. GnuPG uses a system of public and private keys for the encryption and signing of messages.
Setting up the GPG key:
If you are using mac os , open up your terminal and enter the following to install GPG.
brew install gnupg gnupg2
You can verify it with following command.
gpg --version

gpg (GnuPG) 2.3.4
libgcrypt 1.10.0
Copyright (C) 2021 Free Software Foundation, Inc.
License GNU GPL-3.0-or-later <https://gnu.org/licenses/gpl.html>
This is free software: you are free to change and redistribute it.
There is NO WARRANTY, to the extent permitted by law.

Home: /Users/karthikeyan.shanmuga/.gnupg
Supported algorithms:
Pubkey: RSA, ELG, DSA, ECDH, ECDSA, EDDSA
Cipher: IDEA, 3DES, CAST5, BLOWFISH, AES, AES192, AES256, TWOFISH,
        CAMELLIA128, CAMELLIA192, CAMELLIA256
AEAD: EAX, OCB
Hash: SHA1, RIPEMD160, SHA256, SHA384, SHA512, SHA224
Compression: Uncompressed, ZIP, ZLIB, BZIP2
For windows , Visit this link to download and install gpg executable to get started.
Generating the GPG key:
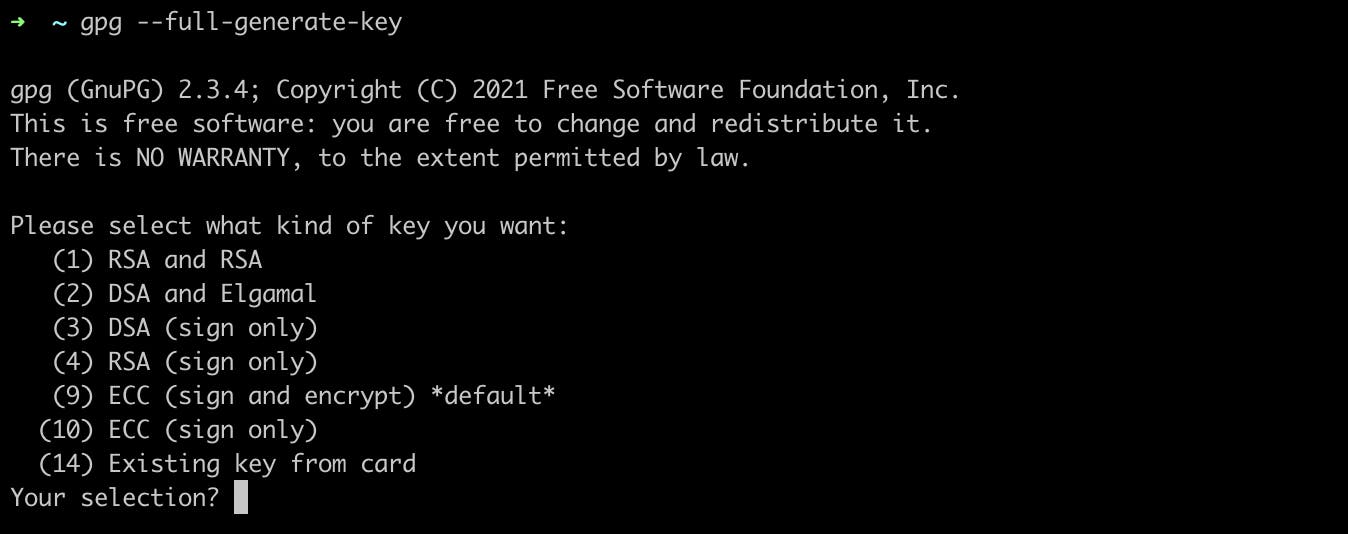
- Run the following command to generate your GPG key.
gpg --full-generate-key
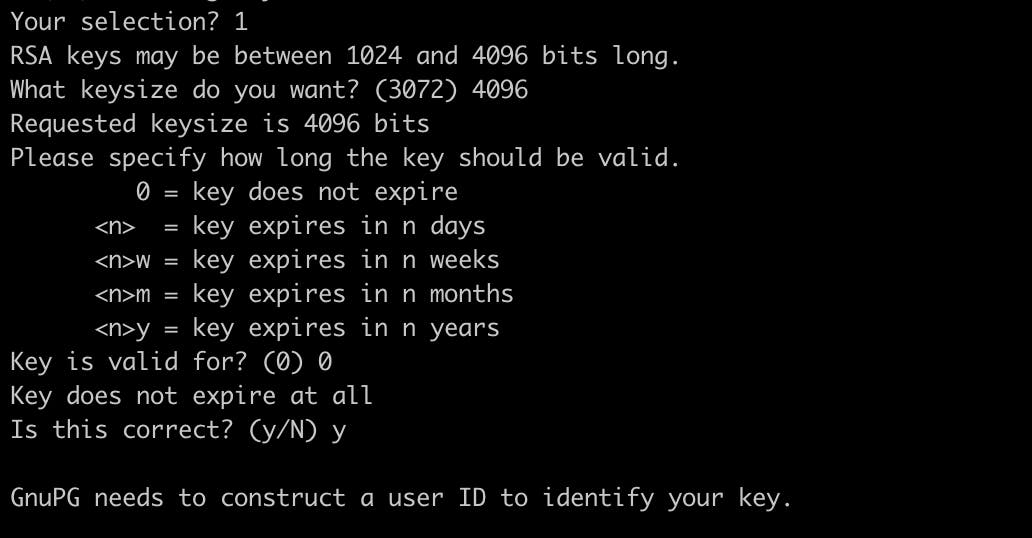
You will get the following prompts as mentioned in the screenshot

- We will go with default prompt for selecting the algorithm ( RSA and RSA ). The key size should be 4096, we will be entering the same. For the expiry time, I am going to go with never expiry ( 0 ) , you can also go with expiry time to be 2 years.

- Now we need to enter the personal details
Note: When asked to enter your email address, ensure that you enter the verified email address for your GitHub account.

- Cross check the details and hit confirm.
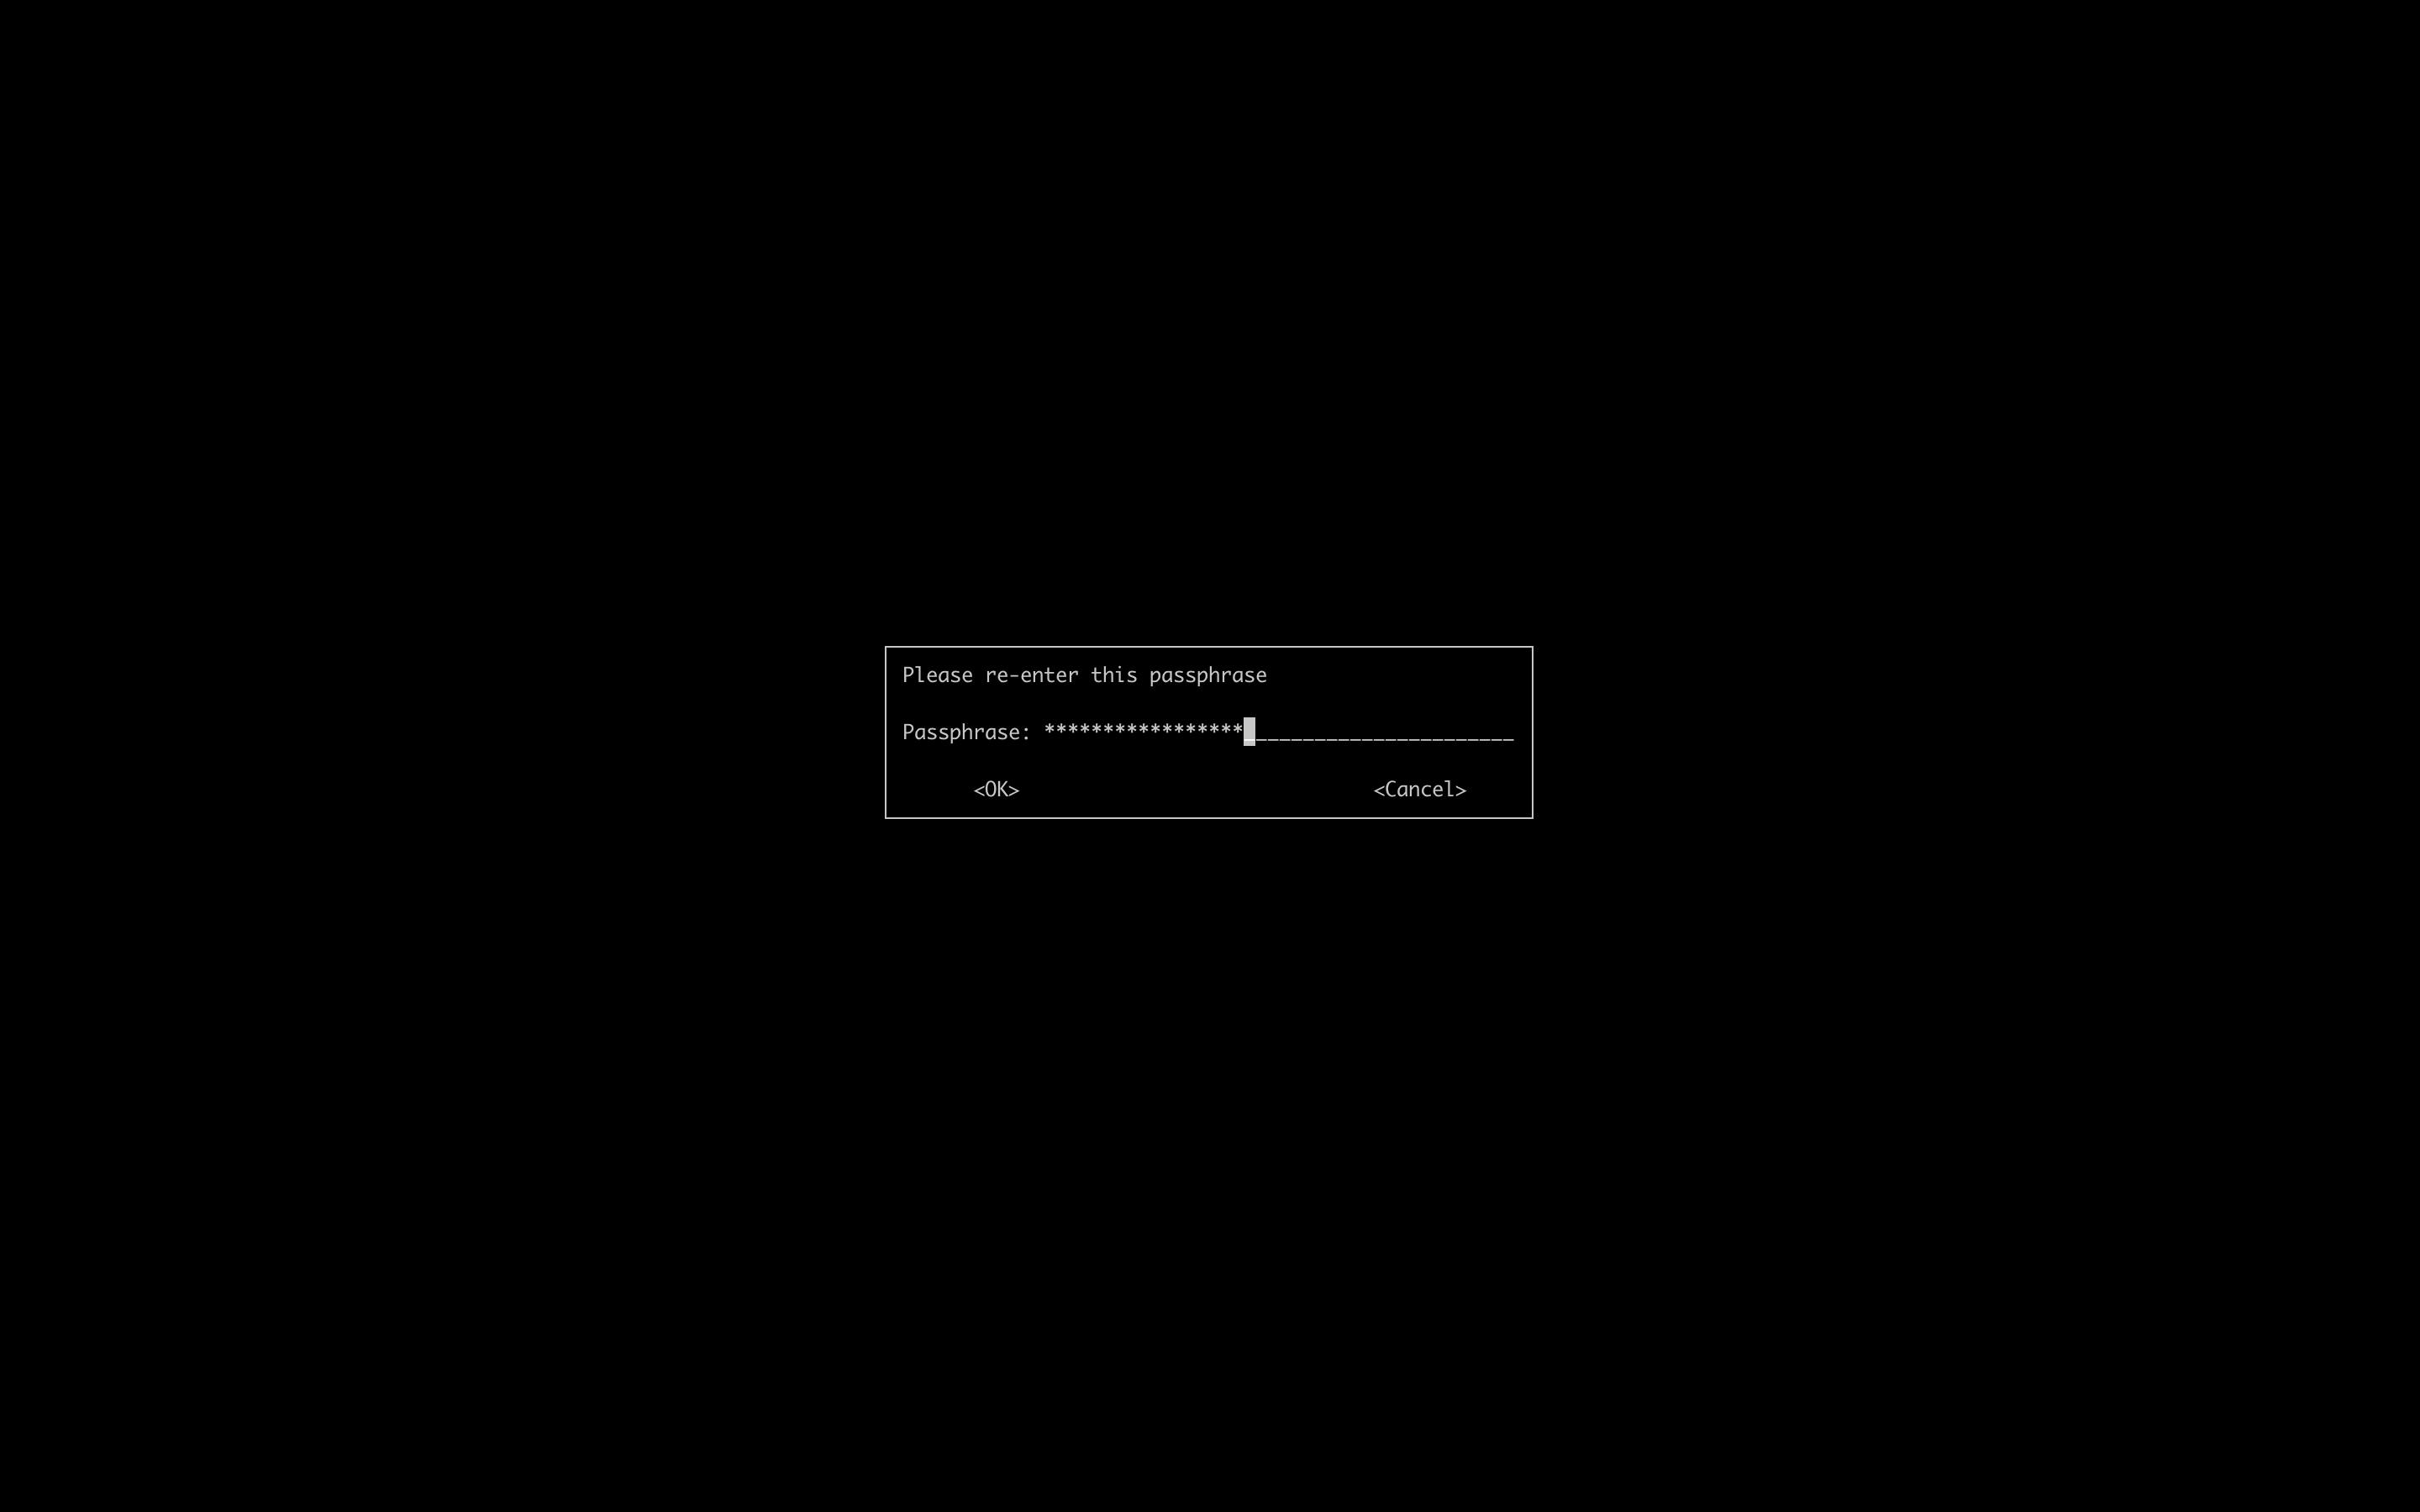
- Enter the passphrase

- Once you entered the passphrase twice , you should see the key printed in your terminal.

Use the
gpg --list-secret-keys --keyid-format=longcommand to list the long form of the GPG keys for which you have both a public and private key. A private key is required for signing commits or tags.From the list of GPG keys, copy the long form of the GPG key ID you'd like to use. In this example, the GPG key ID is
3AA5C34371567BD2:
gpg --list-secret-keys --keyid-format=long

/Users/karthikeyan.shanmuga/.gnupg/pubring.kbx
----------------------------------------------
sec   rsa4096/006776222903545 2022-05-13 [SC]
      76293F4E68EDF0BAQEFAASCCSC5A0F713C2EC0
uid   [ultimate] karthikeyan <karthikeyan@mail.com>
ssb   rsa4096/0067762AB2903545 2022-05-13 [E]
- Paste the text below, substituting in the GPG key ID you'd like to use. In this example, the GPG key ID is
006776222903545:
gpg --armor --export 006776222903545
# Prints the GPG key ID, in ASCII armor format
Note: The one which you are seeing is not a valid key. Please use the key which you see in your terminal.
- Copy your GPG key, beginning with
-----BEGIN PGP PUBLIC KEY BLOCK----- and ending with -----END PGP PUBLIC KEY BLOCK-----and keep it safe.
Adding the Key to Github :
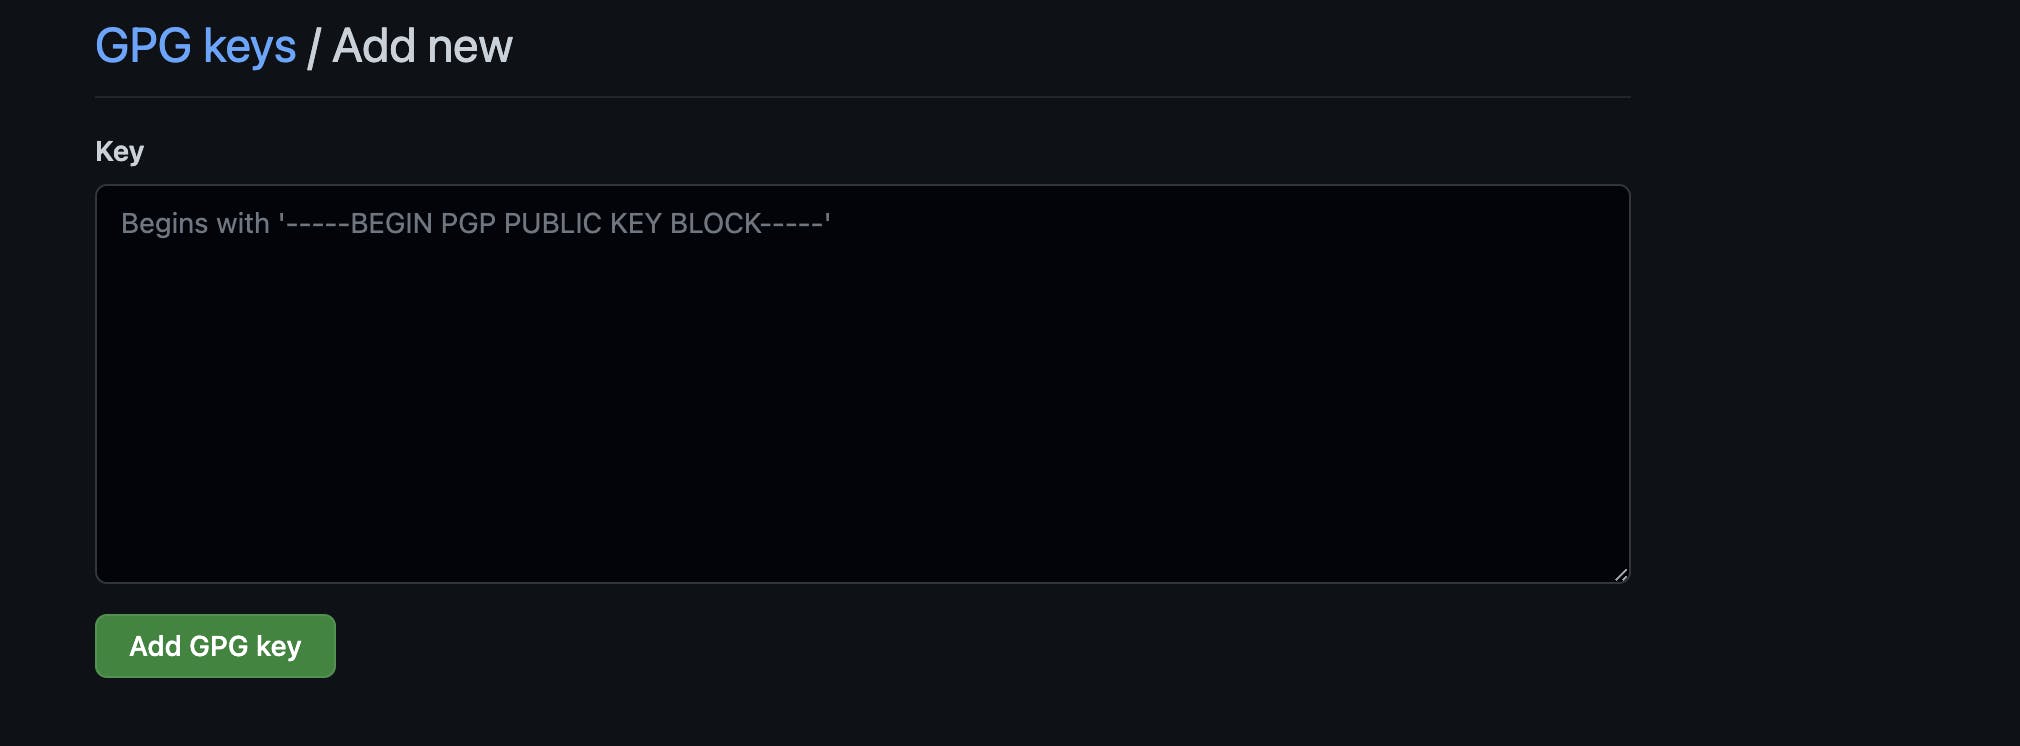
Let's add the key to your Github account.
- Login to your github account and go to
settingsand navigate to this link. - click on
new GPG keyand paste in the key and click onadd GPG key

Signing the commit message
- Get generated key by executing:
gpg --list-keys
/Users/karthikeyan.shanmuga/.gnupg/pubring.kbx
----------------------------------------------
pub   rsa4096 2022-05-13 [SC]
      76293F4E68EDF0BAQEFAASCCSC5A0F713C2EC0
uid           [ultimate] karthikeyan <karthikeyan@bangthetable.com>
sub   rsa4096 2022-05-13 [E]
Note: This is not valid key. Please use the key which you see once you execute the command.
Set the key here
git config --global user.signingkey <Key from your list>Based on the example the command will look something like this
git config --global user.signingkey 76293F4E68EDF0BAQEFAASCCSC5A0F713C2EC0
Running this
git config --global commit.gpgsign truecommand will set the signing of your commits by defaultFinally , when you run
git commit -S -m 'commit message', it will ask for your passphrase and boom you will be able to successfully sign your commit message.Run this command
git log --show-signatureto verify that your commit has been signed with your public key

References and Resources:
Conclusion
That's pretty much it. Thank you for taking the time to read the blog post. If you found the post useful , add ❤️ to it and let me know in the comment section if I have missed something.
Feedback on the blog is most welcome.
Social Links:

