In this post, I will be sharing the tech stack, the process and the challenges I faced during the development.
Tech Stack :
Next.js
Amplify CLI
Appsync API
S3 storage
Tailwind CSS
Before getting into the process, the main goal for the hackathon is to build an application that can be used as a personal journal using aws-amplify.
Process :
The first part was to finish the authentication, luckily Amplify's pre-built ui components came in handy. Below is the code
import { Authenticator, useAuthenticator } from '@aws-amplify/ui-react'
import '@aws-amplify/ui-react/styles.css'
import Navbar from '@/components/navbar'
import Wrapper from '@/components/wrapper'
import { Auth } from 'aws-amplify'
import { useRouter } from 'next/router'
import React from 'react'
import { Hub } from 'aws-amplify'

const Profile = () => {
  const router = useRouter()
  const { authStatus } = useAuthenticator((context) => [context.authStatus])
  const { user } = useAuthenticator((context) => [context.user])

  Hub.listen('auth', (data) => {
    switch (data.payload.event) {
      case 'signIn':
        router.push('/')
        break
      case 'signUp':
         router.push('/')
        break
      case 'signOut':
        console.log('user signed out')
        break
      case 'signIn_failure':
        console.log('user sign in failed')
        break
      case 'configured':
        console.log('the Auth module is configured')
    }
  })
  return (
    <>
      <Navbar />
      <Wrapper>
        <div className="p-4">
          {authStatus === 'configuring' && 'Loading...'}

          {authStatus !== 'authenticated' ? (
            <Authenticator />
          ) : (
            <>
              <main>
                <h1> Username: {user?.username}</h1>
                <button
                  className="mt-4 py-3 px-4 inline-flex justify-center items-center gap-2 rounded-md border border-transparent font-semibold bg-gray-800 text-white hover:bg-gray-900 focus:outline-none focus:ring-2 focus:ring-gray-800 focus:ring-offset-2 transition-all text-sm dark:focus:ring-gray-900 dark:focus:ring-offset-gray-800"
                  onClick={() => {
                    Auth.signOut()
                    router.push('/home')
                  }}
                >
                  Sign out
                </button>
              </main>
            </>
          )}
        </div>
      </Wrapper>
    </>
  )
}

export default Profile

One small hurdle I had was to figure out how to redirect after the user has signed up or signed in as I was using the pre-built UI components.
The reason was once the user was logged in, nav components were not getting updated and finally, aws amplify docs came in handy for that.
Next up was to finish up the CRUD operations for the journal. I was able to achieve them with Appsync and Graphql. I also got a chance to refresh my graphql knowledge.
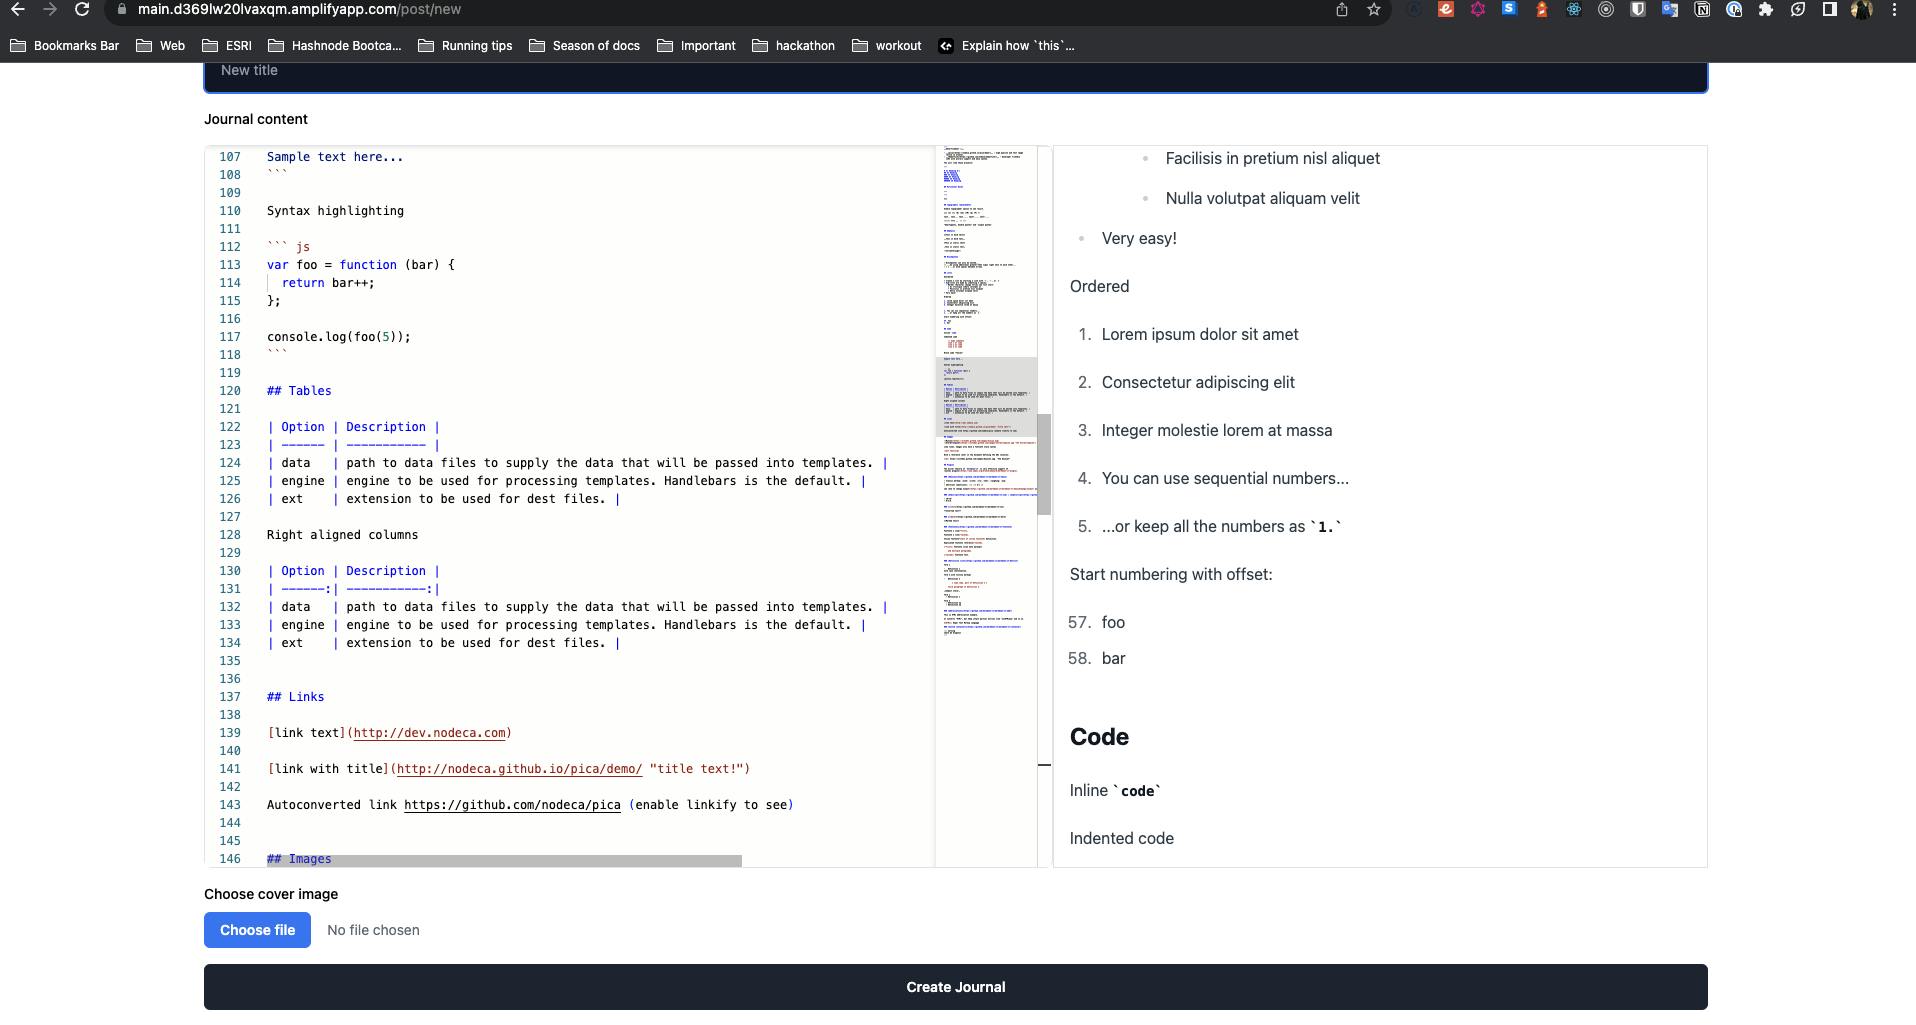
For the creation part of the journal, I made use of the Monaco editor paired up with the tailwind typography plugin to make it even look nicer.

For adding the cover image for the journal part , I was able to make use of the inbuilt storage provided by AWS S3.

What's Next for Odyseey
Ability to share the journal link with other users.
Import/export journal content from the Notion.
Ability to comment on the public journal.
Retrospective:
From this hackathon, I was able to learn how to create a CRUD application with aws-amplify CLI and refreshed my graphql skills.
Conclusion
Thank you for tuning in. The application will be under continuous development. Comments and Feedbacks are most welcome. More posts regarding the setup which I learned in the hackathon are on the way.
Links
Web Application: https://main.d369lw20lvaxqm.amplifyapp.com/
Source Code: https://github.com/skarthikeyan96/odyseey-amplify

